How To Propagate A Rubber Plant (Rubber Tree, Ficus Elastica) By Air Layering
We all want our houseplants to grow, right? But what happens when they get too tall, too wide or too leggy? For many plants propagating by cuttings in water or mix works just fine. My Rubber Tree Plant was soon to hit the ceiling so I want to share with you how to propagate a Rubber Plant by air layering.
This method works on other houseplants besides the Rubber Plant. For many of them (including some landscape plants too), air layering is the best method. In a nutshell, you propagate the plant while it’s still attached to the mother. The tough outer layer of the stem or branch is wounded so roots can easily form and emerge.
How to Propagate a Rubber Tree Plant
Some of the other houseplants which air layer beautifully are Weeping Fig, Fiddleleaf Fig, Dracaenas, Dumbcane, Umbrella Tree, Dwarf Umbrella Tree and the Split Leaf Philodendron. The 2 plants which I’ve successfully air layered in the past are the Dumb Cane (Dieffenbachia Tropic Snow) and Burgundy Rubber Plant (Ficus elastica Burgundy).
Best Time to Air Layer Houseplants
I’ve always started the air layering process in spring. That way the cutting off & planting (stay tuned – that’s coming in the next post & video) is done in summer.
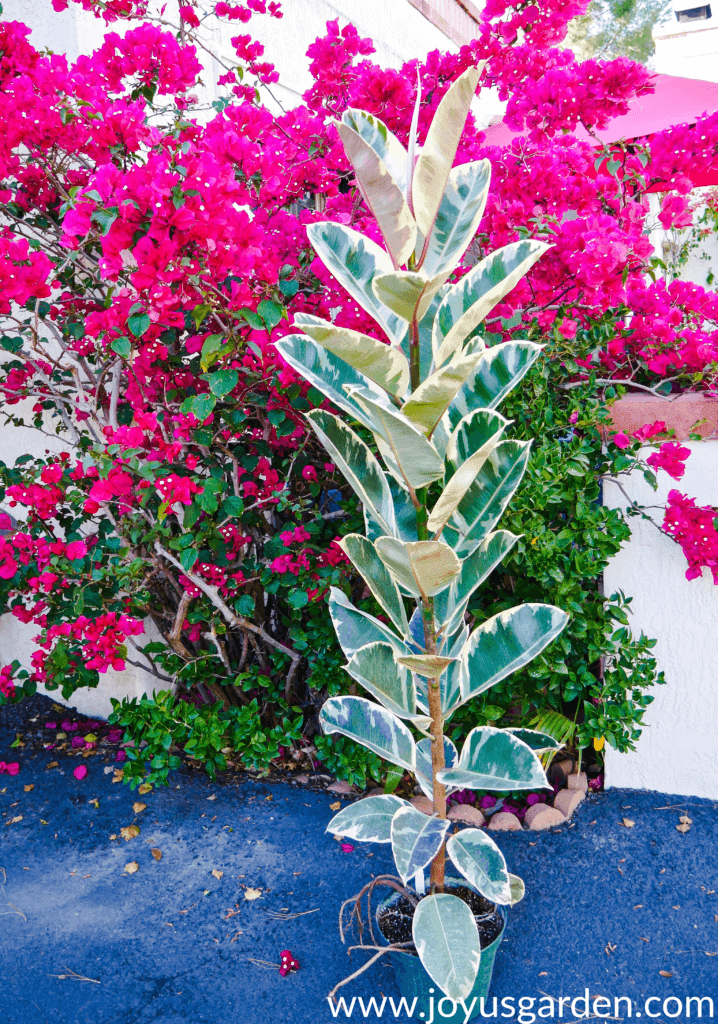
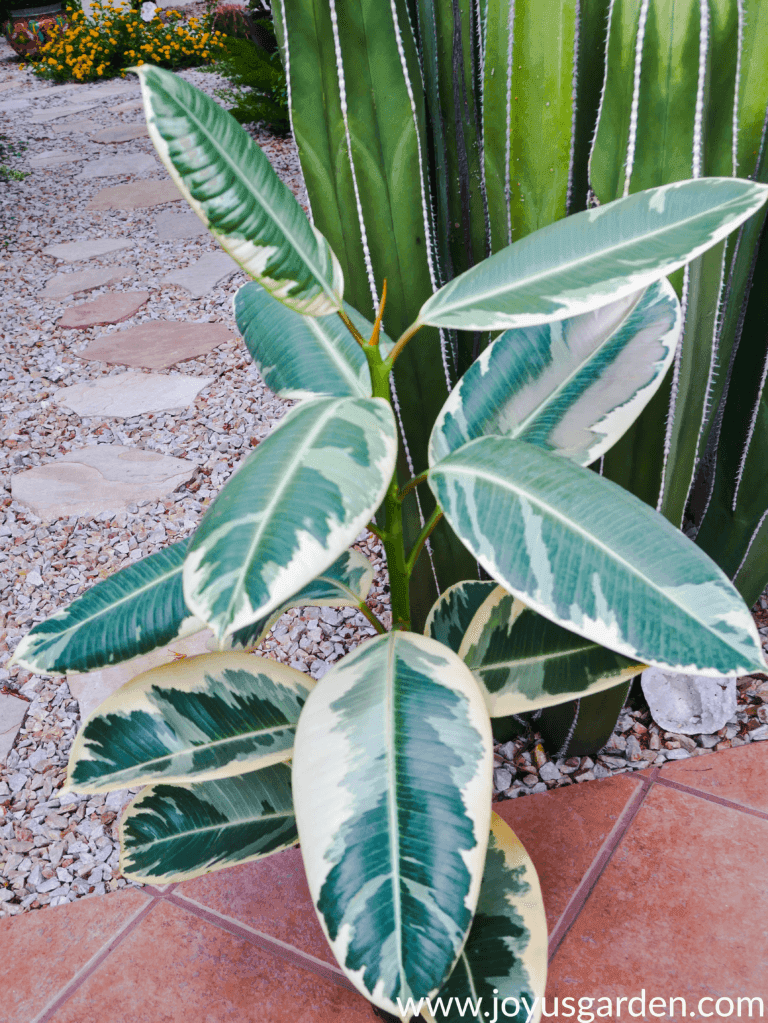
My tall & narrow Variegated Rubber Plant. It’ll be interesting to see how the mother plant transforms after I cut the top portion off.
How long does it take?
The 1st roots generally appear in 2-3 weeks. In 2-3 months time, the air layered portion will be ready to be cut off. This time, I let mine go 4 months (summer has been hectic!). The air layering & plant are doing just fine.
Materials Used
Floral knife
I bought mine at the San Francisco Flower Market & have had it for over 30 years. It’s light & easy to use. The ever popular Swiss Army knife works well for this too. Whatever you choose to use, it’s important to make sure your tool is clean & sharp to avoid infection.
Forest moss
This is the natural kind; not dyed. You can also use peat moss or coco coir as well as a combo of 1 of these with the moss. You want a light medium that the roots can easily grow into. For me, the moss is easy to wet, form into a ball & wrap around the wound.
Plastic bag
I used a small, clear produce bag to wrap around the moss. When the intense Tucson summer heat set in, I doubled bag the moss ball so I didn’t have to wet it every few days.
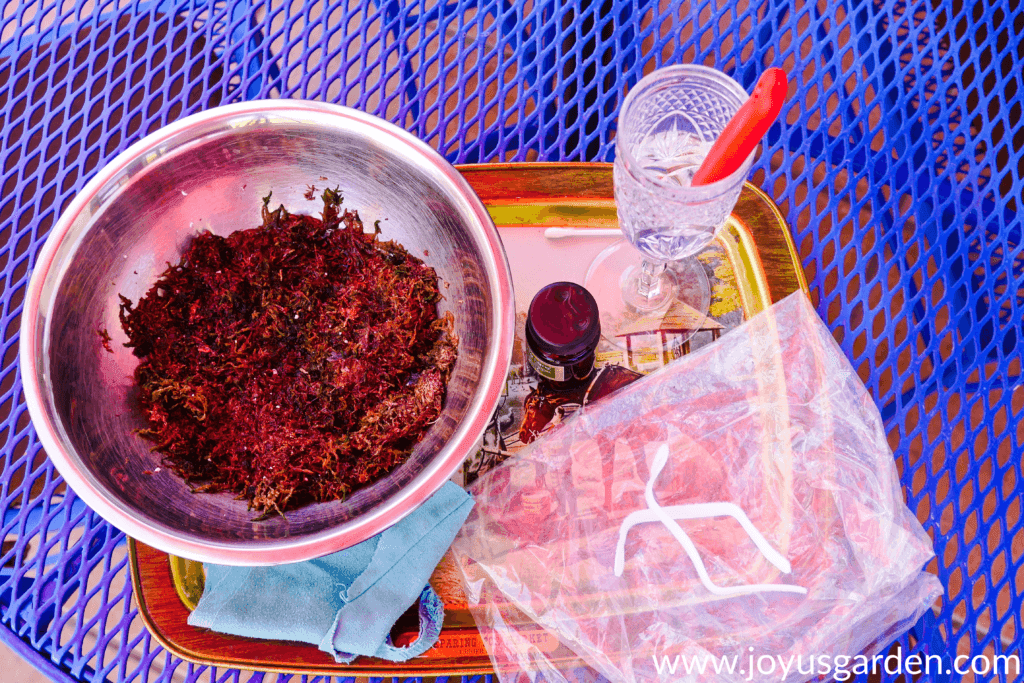
Here’s what I used. The champagne glass is full of rubbing alcohol. This cleans & disinfects the knife after each cut.
Twine or twist ties
You’ll need something to keep the bag(s) tightly closed on top & bottom.
Rooting hormone
I didn’t use this on my previous air layerings, but because I had been sent a free sample, I used it this time. What rooting hormone does is facilitate rooting, ensures a greater success rate & makes the roots stronger.
A rag. You won’t need this for most houseplants but the Rubber Plant drips out milky sap when the leaves are removed.
8 Simple Steps to Air Layering a Houseplant
1.) Soak the moss in a bowl of water for 1/2 hour.
Moss is dry & you want to make sure it’s good & wet.
2.) Decide where you’re going to make the cuts.
I went down about 20″ on the stem. That leaves a good amount of base for the plant to regrow on. I plan on stripping off all the lower leaves to turn the mother in a standard (tree) form. For you, the cut points will vary depending on your plant & what you’re trying to achieve.
3.) Remove 2-4 leaves in the area where you’re going to make the cuts.
You’re doing this to make room for the cut & also the moss ball. This is where the rag comes in. Sap will immediately ooze out of the node as well as the leaves stem. Be careful in regards to the sap – more on that further down in “good to know”.
3 leaves removed with a bit of the sap still dripping out.
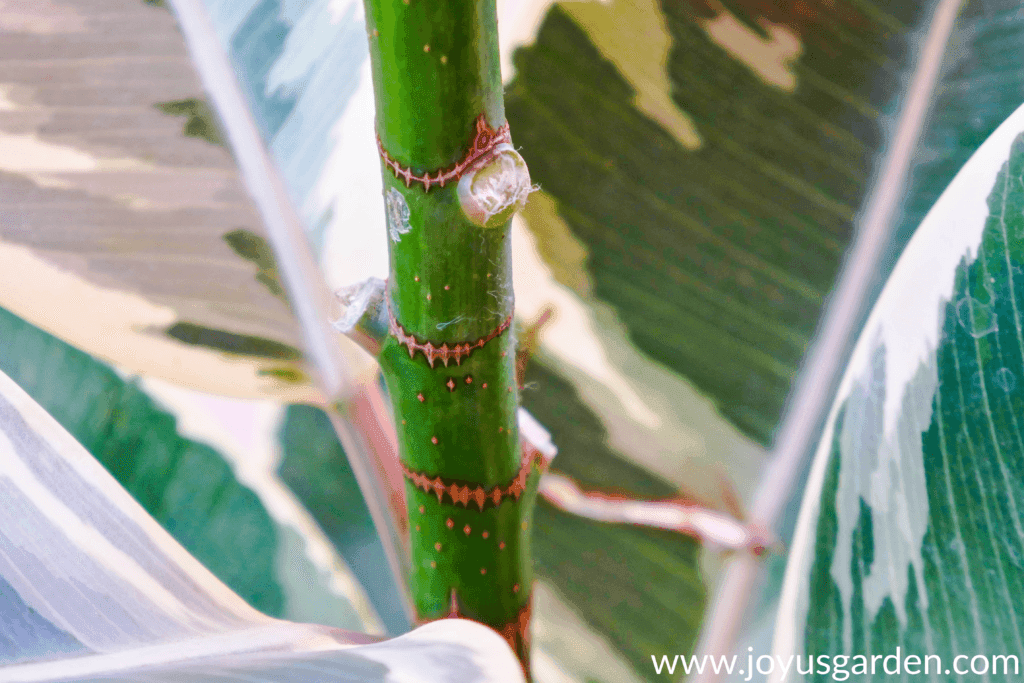
4.) Make the top cut 1/4″ below the top node & the 2nd cut just above the bottom node.
I call this the “band method”. Make the 2nd cut approximately 1/2″ to 1″ below the top cut. It’s necessary to make the cuts deep enough to remove the outer layer but not so deep that you injure the plant.
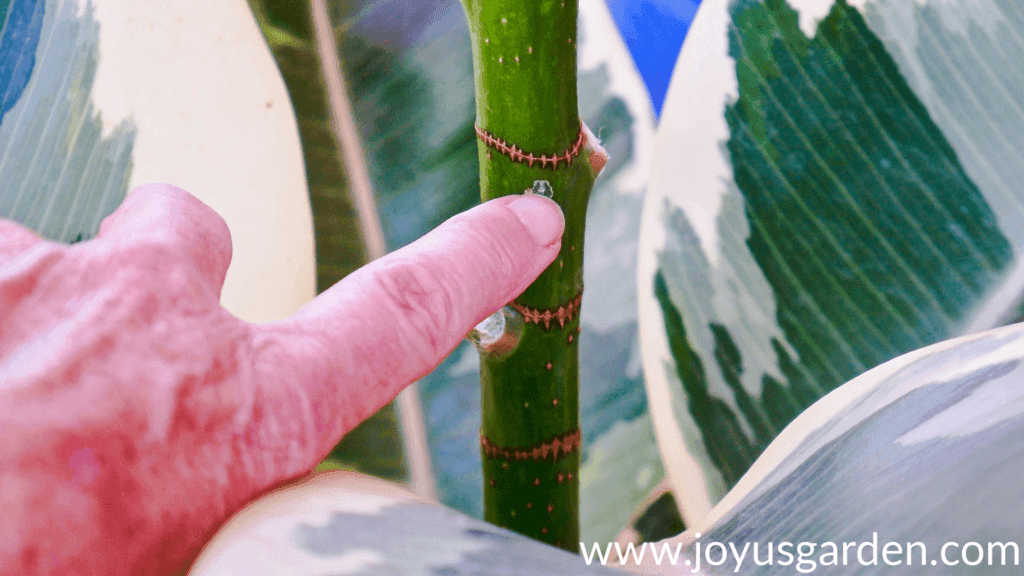
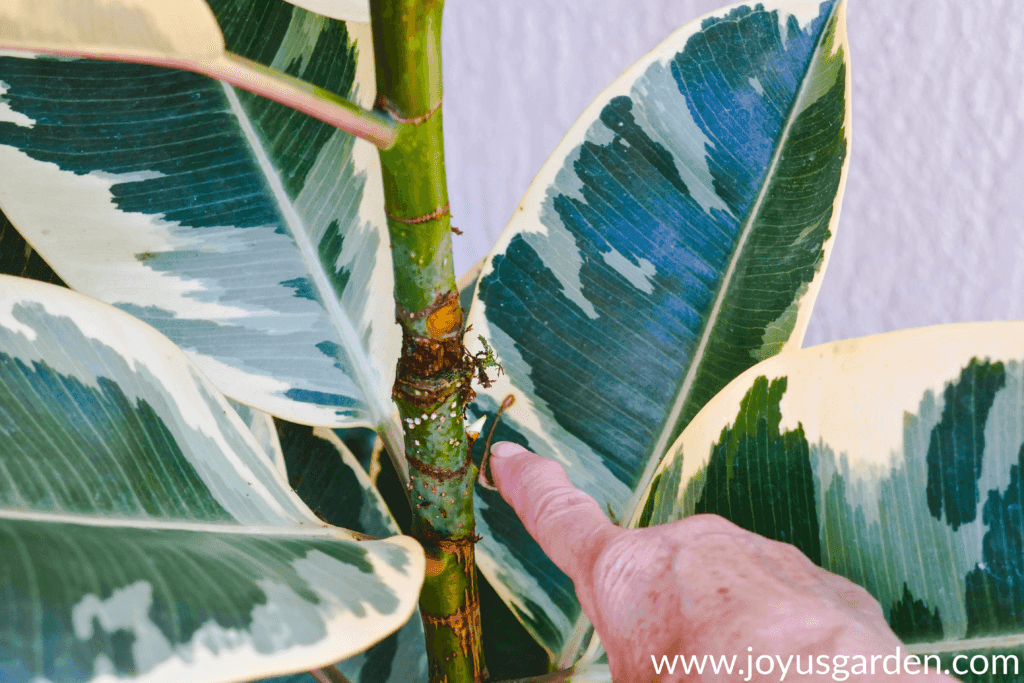
I’m pointing to where I started the top cut.
5.) Make vertical cuts in between the 2 bands & start to pull the outer layer off.
The roots will appear in the cutaway area as well as just above & below the horizontal cuts. The cut area was very wet so I let it air dry for 30 minutes before the next step. I’m not really sure if this matters or not but the wound seemed particularly moist to me.
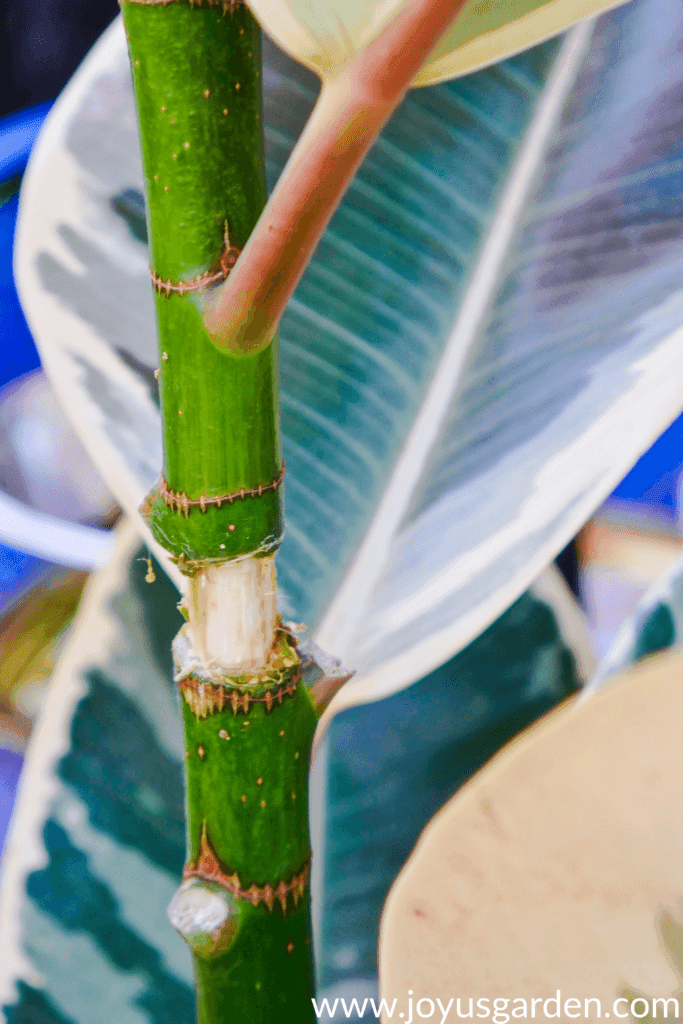
Here’s what the band looks like with the outer layer removed.
6.) Apply the rooting hormone.
Mine was a powder formula so I used a cotton swab to dab it on.
7.) Form the wet moss into a ball & wrap it around the cut area.
Make sure the moss covers the whole wound. This is what the roots grow into.
8.) Wrap the plastic around the moss ball & tightly secure it top & bottom with the ties.
Your plant is now on its way to air layering!
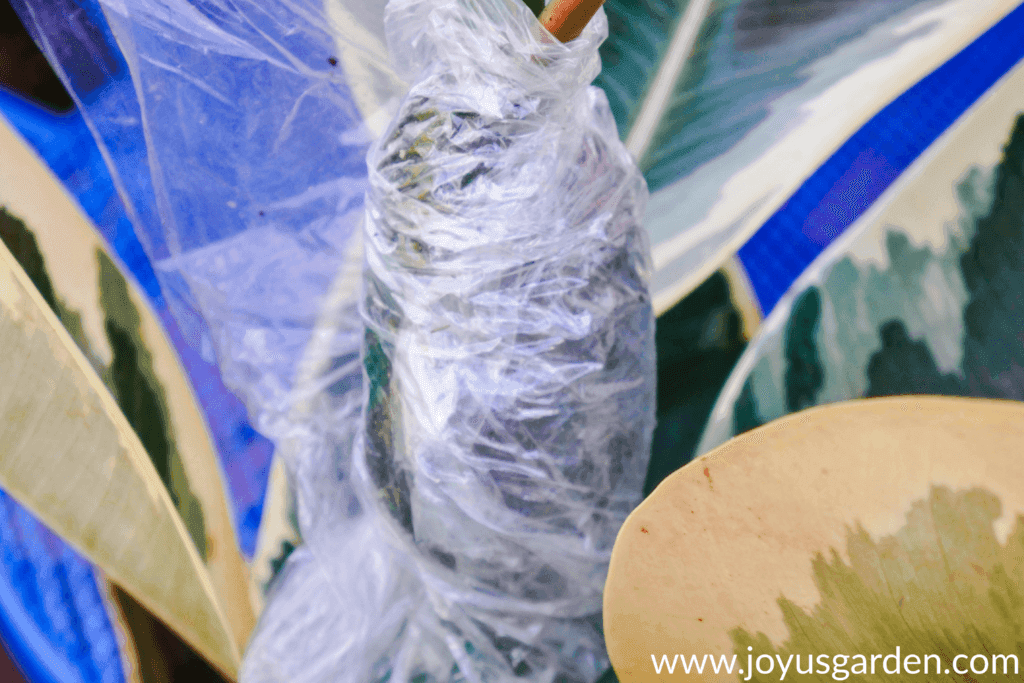
The wound & moss ball with the plastic tightly wrapped around. Nothing fancy here but it does the trick.
How to Maintain Your Air Layering
I did the air layering outdoors & moved the Rubber Tree back into my dining room. It’s a very bright room with the direct sun so I placed it 8-10′ away from the windows. A bright exposure is best but you don’t want the air layering to bake in the hot sun.
It was mid-spring when I did the air layering so I opened up the plastic & soaked the moss every 2 weeks. As the temps heated up here in Tucson, I had to spray & soak it every week. I used both a spray bottle & small watering can to do this.
It dried out completely when I was away on 1 of my trips. I thought it was a goner but after a good soaking every day, roots started to appear again. I ended up double bagging the moss ball which helped with moisture retention.
Most of the moss was removed after 18 days so you could see the roots emerging.
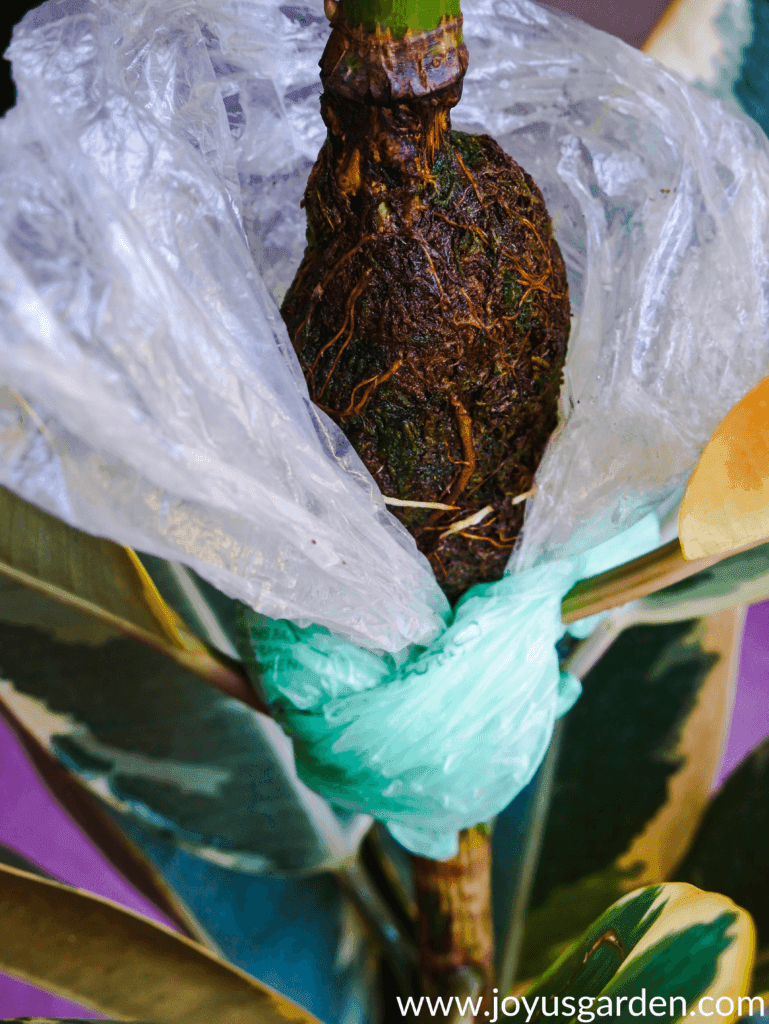
I took this photo 7 weeks after the picture above. Lots more roots have formed.
Air Layering Tips
Make sure your plant healthy (leggy or too fall is fine) before you start this process. My plant was well-watered a couple days before I began the propagating.
Apply the right amount of pressure.
Apply pressure, but not too much, when you’re making the cuts. You want to cut deep enough so the new roots can easily emerge. Get the tough layer off but not dig in so deep that it prevents the plant from carrying the nutrients & water to the top. I basically took 1/8 to 1/4″ of the hard top layer off my Rubber Plant stem.
There are 2 other ways to make the cuts, that I know of. The 1st is to make 2 – v notch cuts on opposite sides. 2nd is to make a 3-4″ slit up 1 side. I like the band method because there’s more surface for the roots to emerge (in my opinion anyway!).
Watch out for the sap!
Be careful of the sap that emits from a Rubber Plant as it could irritate you. I’ve gotten it on my skin & it never has bothered me. Never get it on your face & especially not near your eyes or mouth. Also, it can stain your floor, clothes, etc immediately. That’s why I kept a rag handy.
When figuring out where to make the cuts, keep in mind that some plants grow fast. I made my cut almost 2′ down because Rubber Trees grow fast & I don’t want to have to do this again for at least 3 years.
Keep the moss moist.
Don’t let the moss dry out. Those newly formed roots need to be kept moist.
You can also us the air layering technique for these houseplants.
They include the Weeping Fig, Fiddleleaf Fig, Dracaenas, Dumb Cane, Umbrella Tree, Dwarf Umbrella Tree, and the Split Leaf Philodendron.
The air layering process can be a bit intimidating the 1st time you try it but it’s really not hard at all. It’s a tried and true method of propagation, especially for those houseplants which grow tall and or wide and get out of hand. Plus, I’ll get two plants from one!
Next post coming up:
The cutting off and planting of my air layered Variegated Rubber Plant. Plus, you’ll find out what I’m doing with the mother plant! Stay tuned until next week, and in the meantime…
Happy gardening,

YOU MAY ALSO ENJOY:
- 15 Easy To Grow Houseplants
- A Guide To Watering Indoor Plants
- 7 Easy Care Floor Plants For Beginning Houseplant Gardeners
- 10 Easy Care Houseplants For Low Light
- Easy Care Office Plants For Your Desk
- About the Author
- Latest Posts

Nell, the founder of Joy Us garden, was born into a gardening family and grew up in Connecticut’s countryside. After living in Boston, New York, San Francisco, & Santa Barbara, she now calls the Arizona desert home. She studied horticulture & garden design, working in the field all her life. Nell is a gardener, designer, blogger, Youtube creator, & author. She’s been gardening for a very long time & wants to share what she’s learned with you.

thanks so much, I have the plant and will try the air layering, so much information with illustration is so exciting to ‘give it a go’. Enjoy the series so much, thanks again, Hilary (from Western Australia)
Thanks for stopping by!
Hi Nell – thank you for the demonstration, this is fascinating!
I was wondering – how old was your original rubber plant?
Best.
Hi Kristina – Oh you’re welcome – it’s a great way to propagate! I’ve had this variegated rubber plant for 2 years now. They grow fast so it’s probably 3-4 years old. Nell