How to Repot a Large Snake Plant
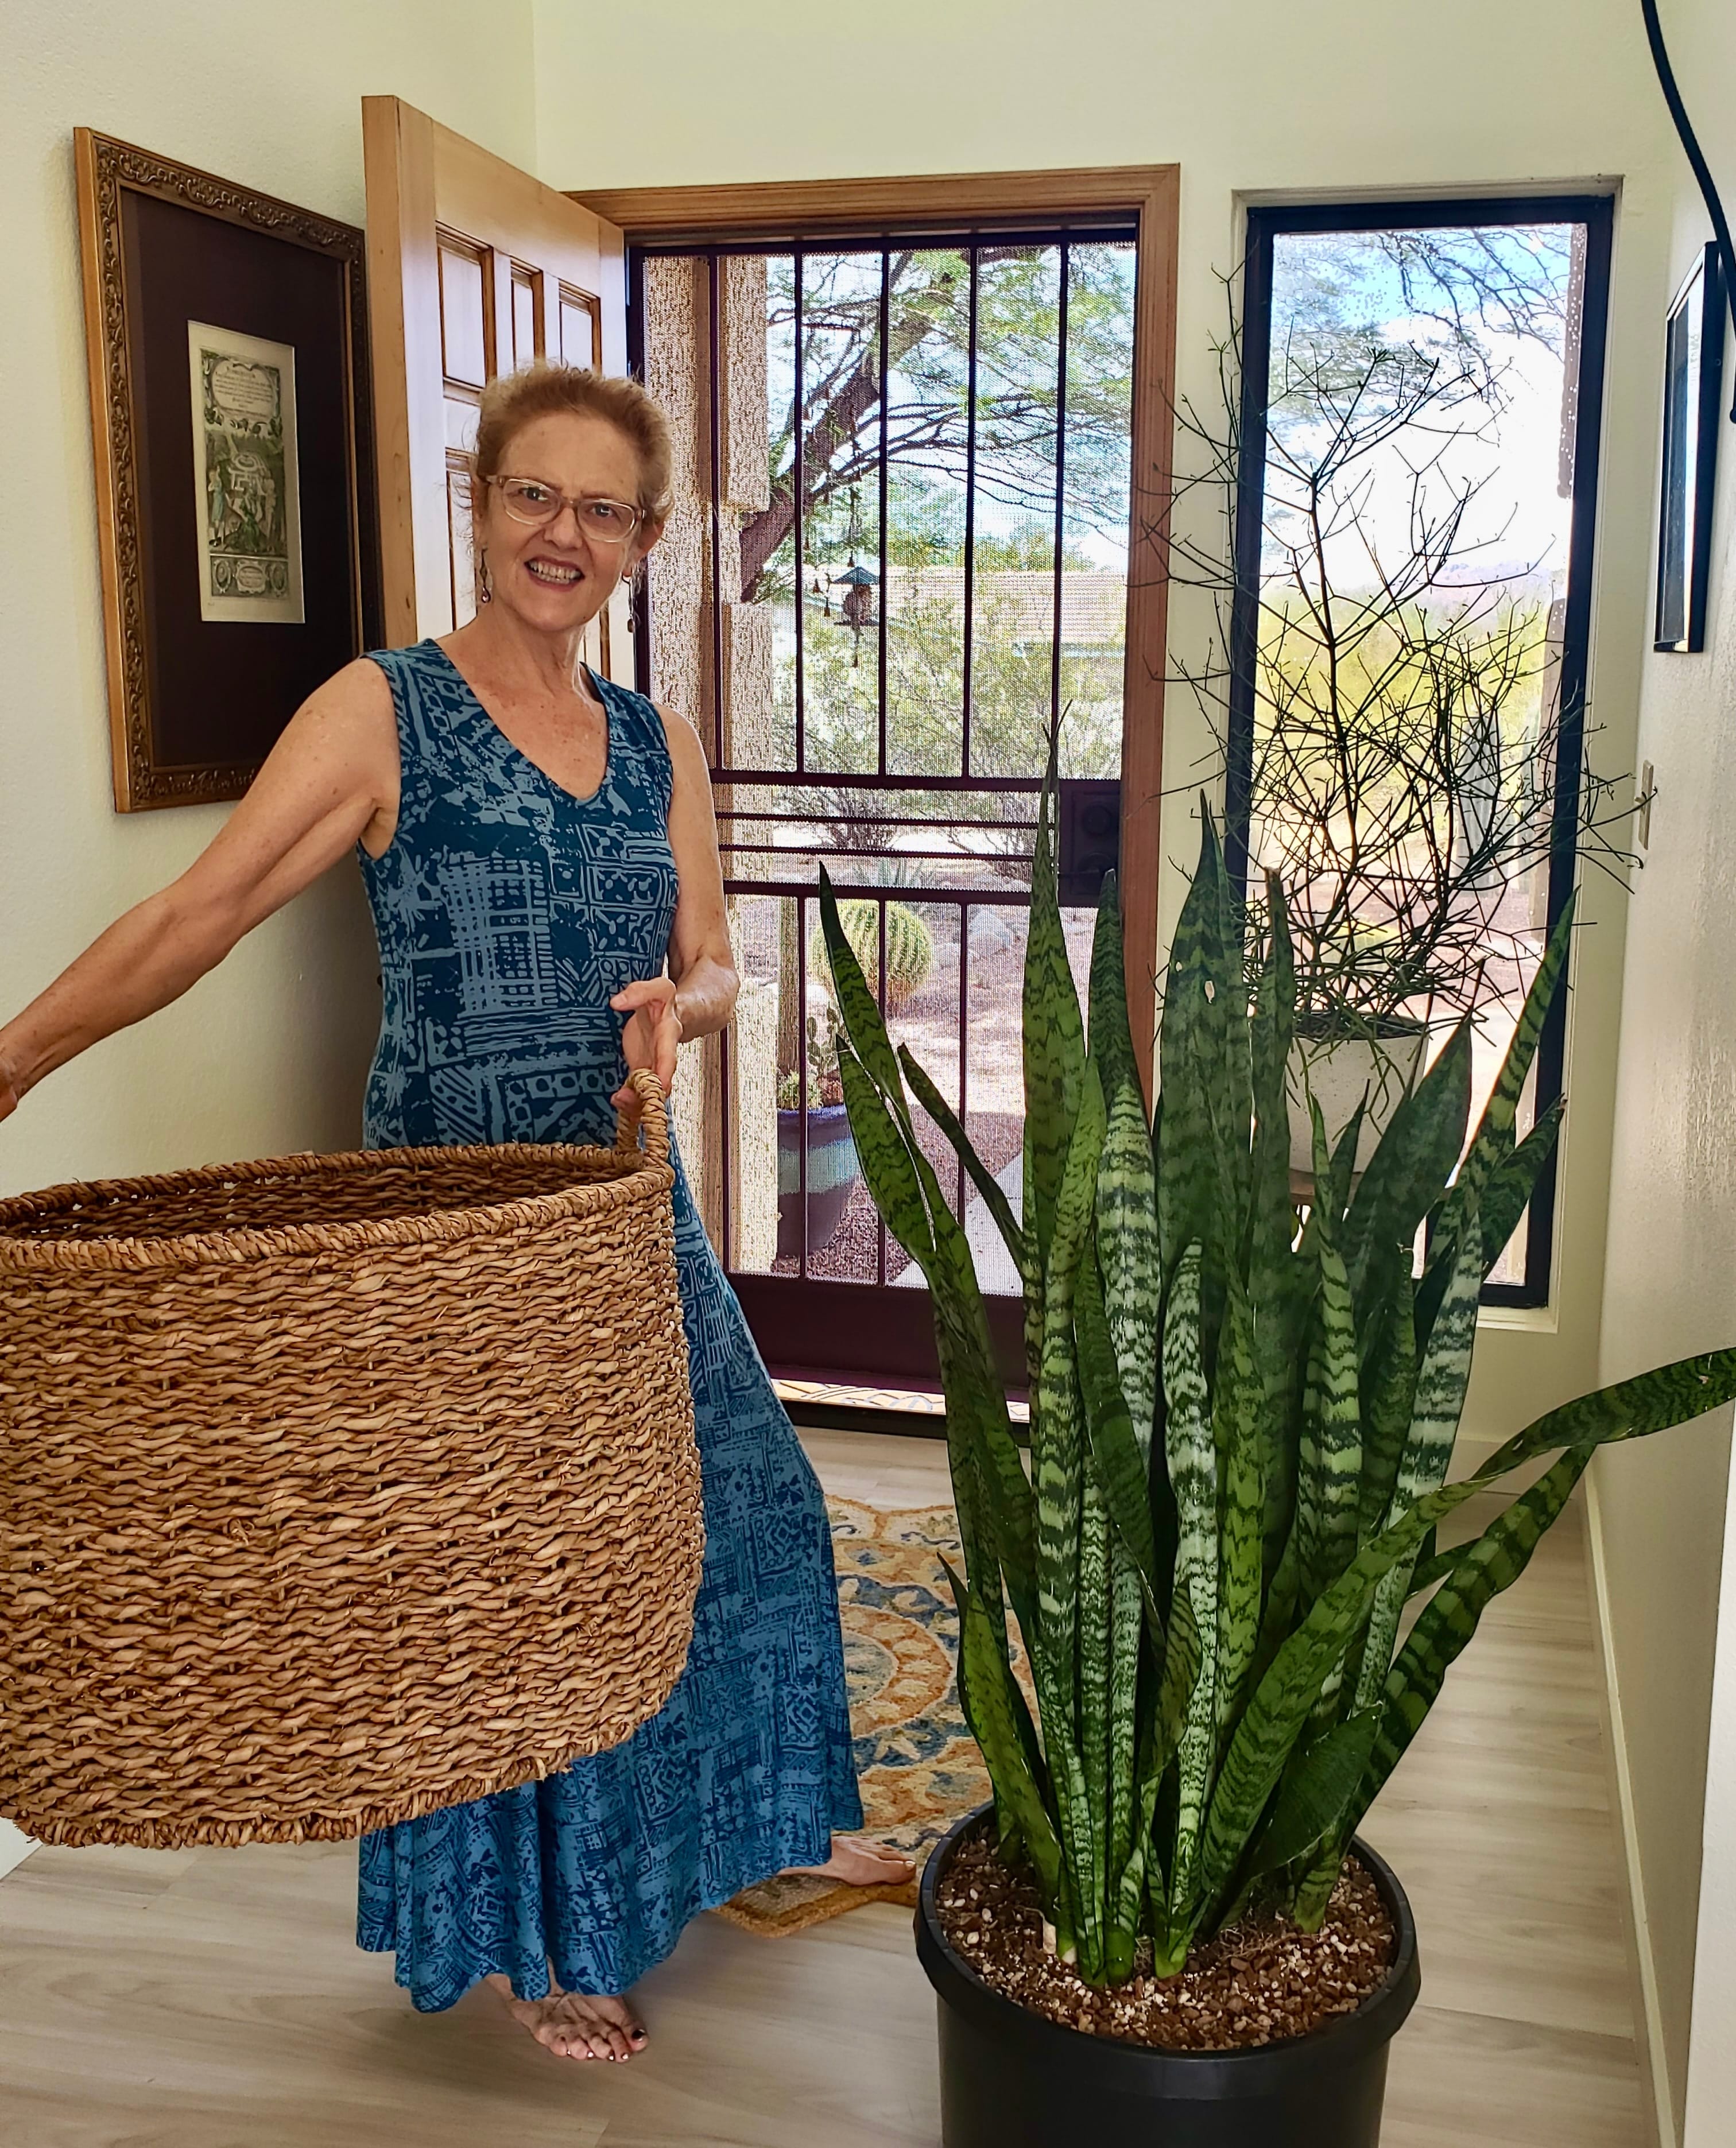
I wasn’t planning on adding a 5′ Sansevieria to my collection but there it was at a discounted price at just calling my name and I couldn’t resist. The pot was split wide open in 2 places and new plants were peaking out.
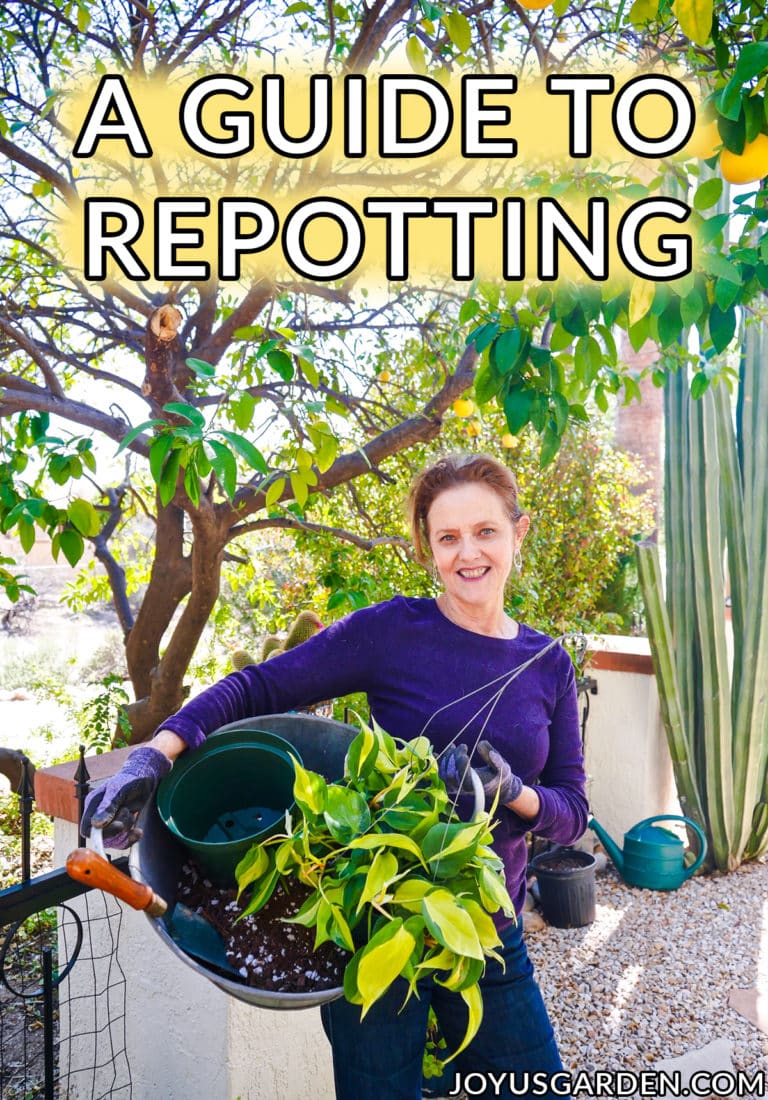
Repotting this large Snake Plant was in order so I’m sharing how I did it plus all things good to know.
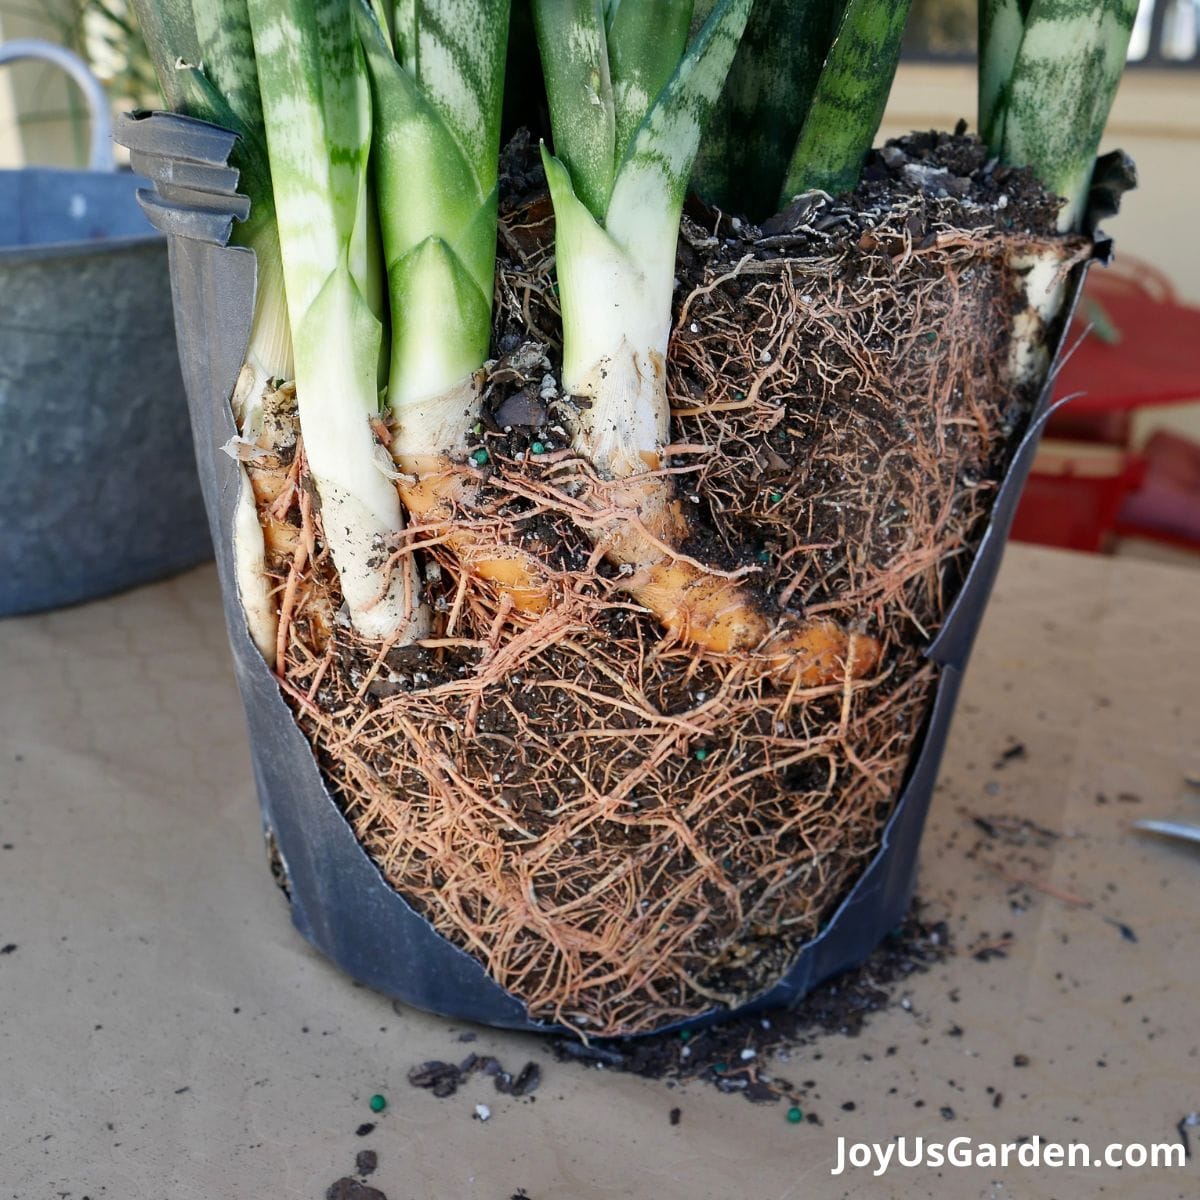
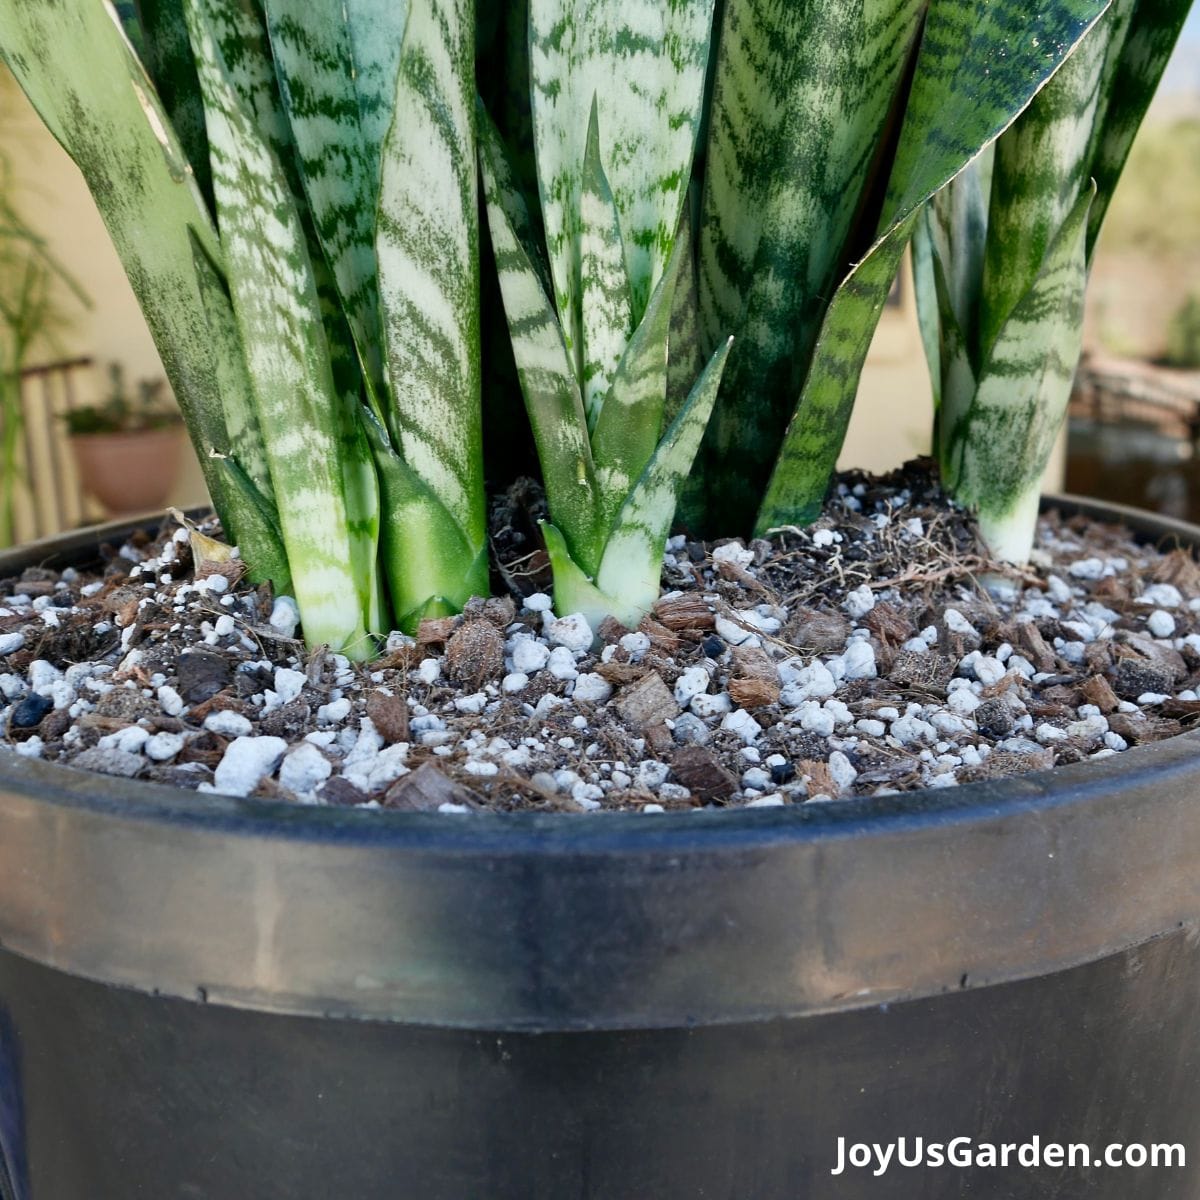
Snake Plants grow and spread via rhizomes (underground stems) which eventually put out new growth. I could tell just by feeling the grow pot that my new Sansevieria trifasciata was extremely pot bound. It was definitely in need of a larger pot – you’ll see a pic of the root ball when you scroll down.
If you’re new to houseplant gardening, check out our Guide To Repotting Plants. It gives you all the basics.
Large Snake Plant Repotting Guide
Botanical name: Sansevieria (species vary & there are many varieties of snake plants)
Common names: Snake Plant, Mother In Law’s Tongue
Looking for Snake Plant Care Tips? We have you covered right here: Snake Plant Care
Reasons to repot
I’ve repotted and transplanted too many plants to count over the years. Here are a few reasons why: the roots are coming out the bottom of the current pot, the roots have cracked the pot, the plant has been overwatered, the soil is getting old and fresh soil is in order, the plant is out of scale with the pot, and the plant is looking stressed.
Why I repotted this Snake Plant
The new growth pushing off the rhizomatic roots had cracked the sides of the grow pot. It was slightly oval instead of round from being so pot bound.
Snake Plants grow fine being a bit tight in their pots, but when the sides of a heavy plastic pot have cracked, it’s time for repotting!
When is the best time to repot
The best time for repotting this plant is in spring and summer. Early fall is fine too if you’re in a more temperate climate like Tucson, Arizona, where I live.
If you have to repot yours in the winter months, no worries. Just know it isn’t optimum.
What size pot to use
They prefer to grow slightly tight in their pots. When I repot a Snake Plant, I go up 1 pot size.
For instance, if yours is in a 6″ grow pot, then an 8″ pot would be the size you’d want to use.
I grew Sansevierias in my Santa Barbara garden and found out how much they like to spread. Because they like to spread out as they grow, I’ve found that they don’t need a deep pot.
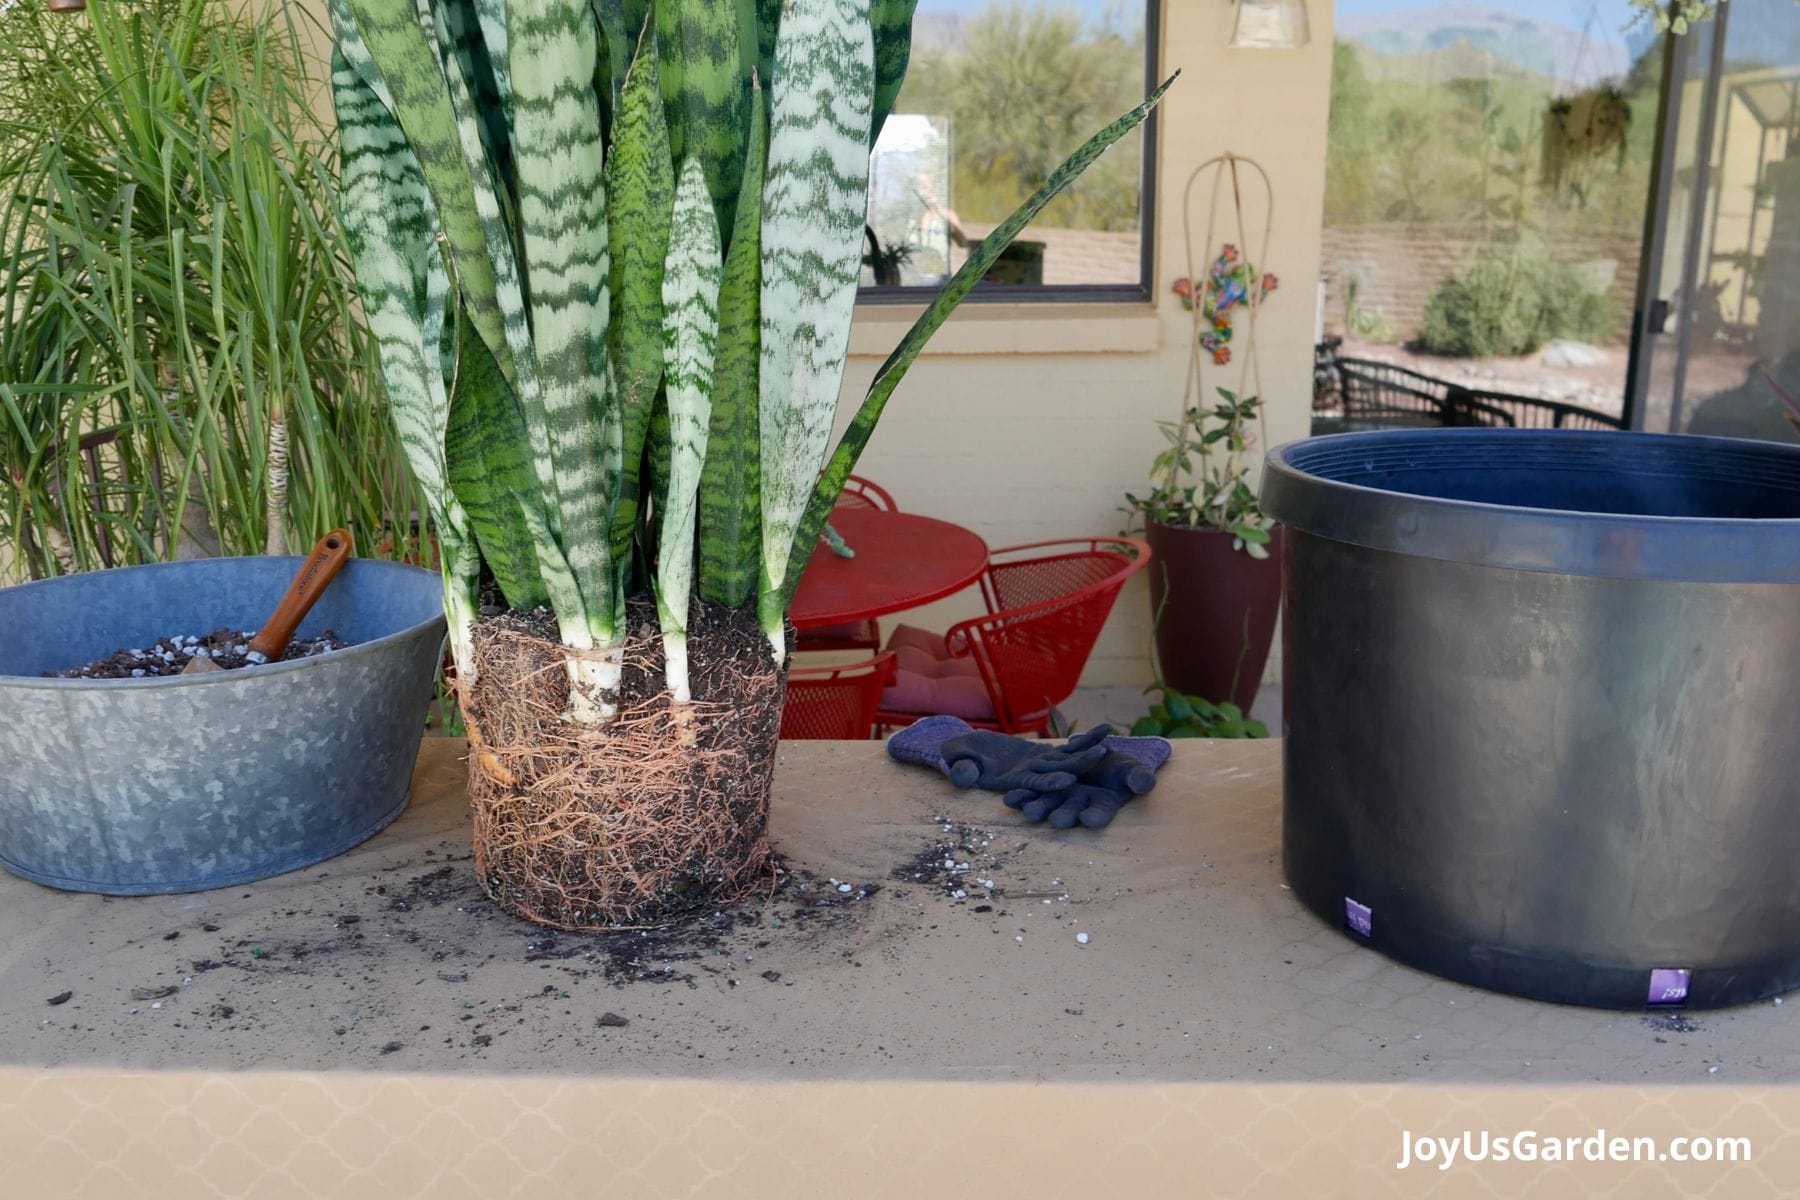
Dimensions of the new pot I used: 16 1/2″ wide x 10″ deep. This size pot gives the roots room to spread but isn’t as deep as it is wide. A deep pot has more soil mass at the bottom which could stay too wet in turn leading to root rot.
This isn’t related to size, but having drainage holes in the bottom of the pot is best so the excess water can freely flow out.
Potting mix to use
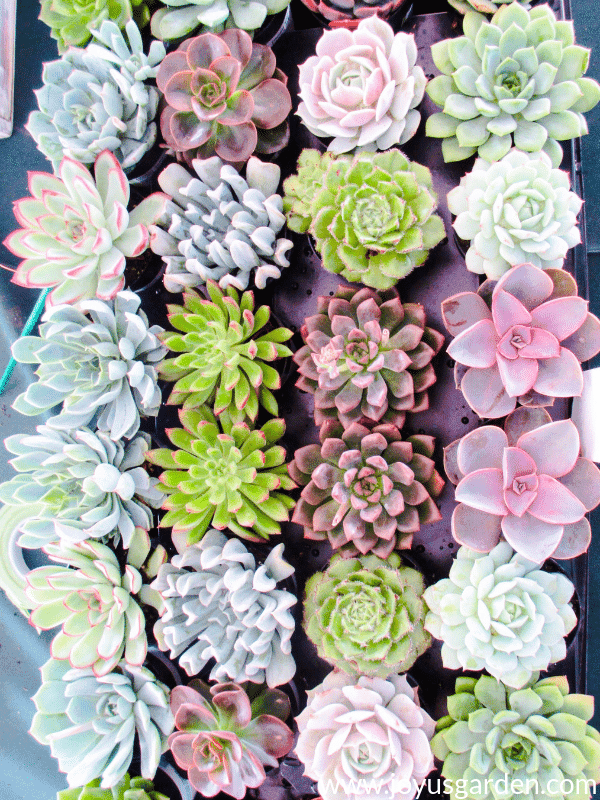
The soil mix needs to drain freely and provide aeration. Snake Plants are succulents and don’t like too much water too often. The soil needs to dry out between waterings.
The soil mix I use
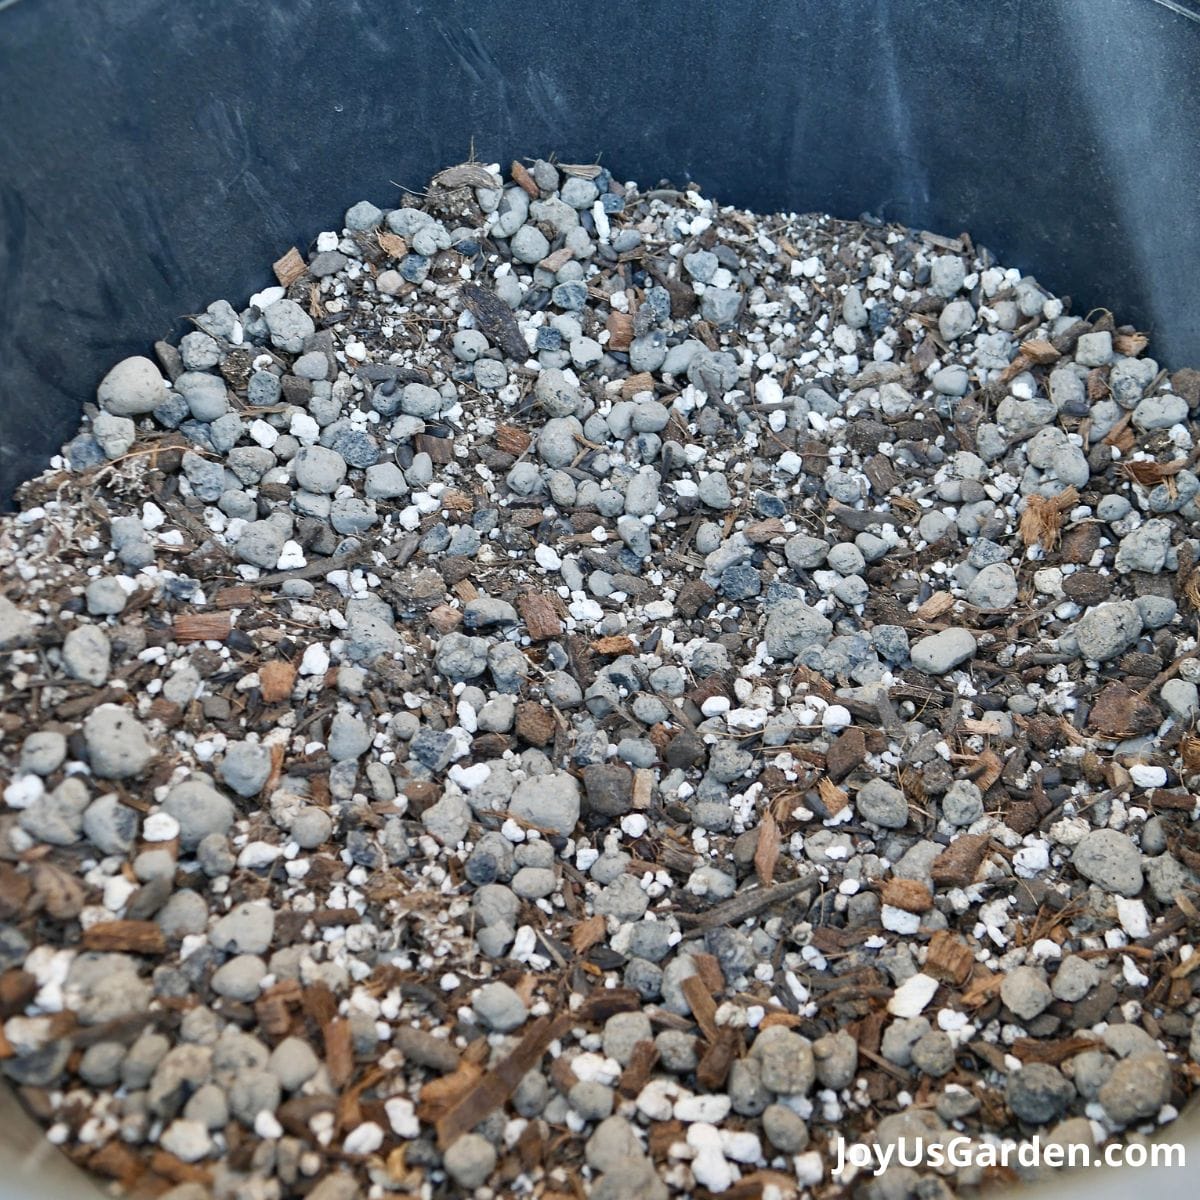
I used 2/3 potting soil, and DIY 1/3 succulent & cactus mix. The potting soil is formulated for houseplants and contains coco chips, coco fiber, and pumice. I add a couple of handfuls of compost and worm compost blend for extra goodness as I go along.
This mix is light but rich and yields good drainage, and the water will flow right through and out the drain holes preventing root rot.
Because the pot is so large, I added clay pebble to the mix at the bottom of the pot for even more aeration. The pebble is very lightweight so I won’t need a crane to move the pot and plant!
Alternative soil mixes
I know many of you live in urban areas and have limited storage space. I know, it was the same for me for many years. Here are some mixes using only two ingredients.
2/3 potting soil, 1/3 pumice
or 2/3 potting soil, 1/3 or perlite
or 2/3 potting soil, 1/3 clay pebbles
or 2/3 potting soil, 1/3 orchid bark
I wouldn’t recommend repotting a Snake Plant in straight potting soil because it could be too heavy. The pumice, perlite, and clay pebbles all up the ante on the drainage factor enabling aeration, and helping to prevent the soil from staying too wet.
I use this potting mix for smaller Snake Plants too, reducing the amount of clay pebbles added. The larger the pot size, the more pebbles I’ll use.
Large Snake Plant Repotting Video Guide
Steps to take
First thing, I watered the Snake Plant about a week before this project. A dry plant is stressed, so I ensure my indoor plants are watered in advance. I find that if I water the day of, the soggy soil can make the process a bit more messy than it already is.
Gather your soil mix materials. Sometimes I mix them up ahead, and other times in the pot as I go along. I did the latter in this case.
Put a layer of newspaper in the bottom of the pot if it has a lot of drain holes. I poked tiny holes in the newspaper with the tip of my floral snips at the end of this process as you’ll see in the video. Eventually, the newspaper will disintegrate, but for now, it will help keep the soil mix inside the pot for the first few waterings because those drainage holes are quite large.
I had to cut the grow pot to get the Snake Plant out. Usually, I can run a knife or pruning saw around the inside of the pot to loosen the root ball and press on the sides of the pot, but this one was so bound that it wasn’t budging at all.
The root system was extremely tight. For this plant, I used the tip of my pruners to lightly score the sides of the root ball to help the roots loosen a bit. A sharp knife would work for this also.
I put enough soil mix in the bottom of the pot to raise the root ball up, so it sits just below the top of the pot.
Once the plant was out of the pot, I measured how much soil mix was needed to raise the top of the root ball up to 1/2″ to 1″ above the top of the new pot. Add the in the mix along with a few handfuls of clay pebbles.
Place the plant in the pot and fill it in with soil mix and pebbles. I added in a few handfuls of compost/worm compost as I planted and topped it all with a 1” layer of the compost on top followed by the succulent and cactus mix. You’ll see the whole procedure in the video above.
Success! My beautiful Snake Plant has fresh soil and plenty of room to spread out and grow.
Care after repotting
Snake Plants are easy when it comes to maintenance and that includes after repotting too.
I placed it back in the spot where it was growing before the repotting. The growing conditions are bright light with a good amount of afternoon indirect sunlight in my office. Snake Plants are one of the best plants for low to moderate light conditions, especially this one with dark green sword-like leaves.
A Snake Plant is a succulent plant. After repotting, I kept it dry for about 7 days to let it settle in. Then, I watered.
I’ll resume the regular watering schedule once the soil is almost completely dry. Because they store water in their stems and fleshy leaves, watering too often will “mush” them out.
Do you have questions about growing Snake Plants? We’ve got you covered with answers here.
Here are some of our houseplant guides you may find helpful: Guide To Watering Indoor Plants, Beginner’s Guide To Repotting Plants, 3 Ways To Successfully Fertilize Indoor Plants, How to Clean Houseplants, Winter Houseplant Care Guide, How to Increase Humidity for Houseplants.
How often to repot
Snake Plants are fine growing slightly tight in their pots. My Snake Plant you see here was pushing it beyond slightly tight – it was root bound!
Don’t think your Sansevieria will need transplanting and repotting every year. Leave them be until they really need it. In general, I repot mine every 5 – 6 years.
This easy-care houseplant doesn’t require much attention and actually makes an ideal office plant (or any room plant for that matter). Yours won’t need repotting on the regular, but when it does, I hope this helps you out!
Happy gardening,

- About the Author
- Latest Posts

Nell, the founder of Joy Us garden, was born into a gardening family and grew up in Connecticut’s countryside. After living in Boston, New York, San Francisco, & Santa Barbara, she now calls the Arizona desert home. She studied horticulture & garden design, working in the field all her life. Nell is a gardener, designer, blogger, Youtube creator, & author. She’s been gardening for a very long time & wants to share what she’s learned with you.
Hello Nell,
I have a snake plant that is getting tall and it’s growing leaves from what seems to be the same one rhisome. The leaves are growing from the core of the plant and some of them grow in a curved pattern rather than just growing up. It keeps falling over since now it’s become top heavy (inverted triangle).
Also, if I were to cut off the outer leaves and keep the inner leaves, would the plant survive? Would you be able to tell me what the steps are if I wanted to go this route? What can I do with this plant so that it doesn’t topple over anymore? I have few stakes that are propping it up but was wondering if I can do something that is more permanent.
Looking forward to hearing your thoughts on this.
Thank you.
Soo
Yes, you can absolutely cut off the outer leaves to reduce the weight. To do this, simply use clean, sharp pruners and cut the specific leaves off as close to the soil line as possible.
To stop the toppling permanently, stakes usually aren’t enough for large, top-heavy Snake Plants. The best solution is to repot it into a heavier pot (like ceramic or clay) or a wider pot to provide a stable base that counterbalances the height.
I hope this helps!