Dracaena Repotting: How To Repot A Large Dracaena Lisa
These Dracaena repotting tips, including the mix to use & how to do it, will help you out. Here I repot a large Dracaena Lisa—see how it’s done.
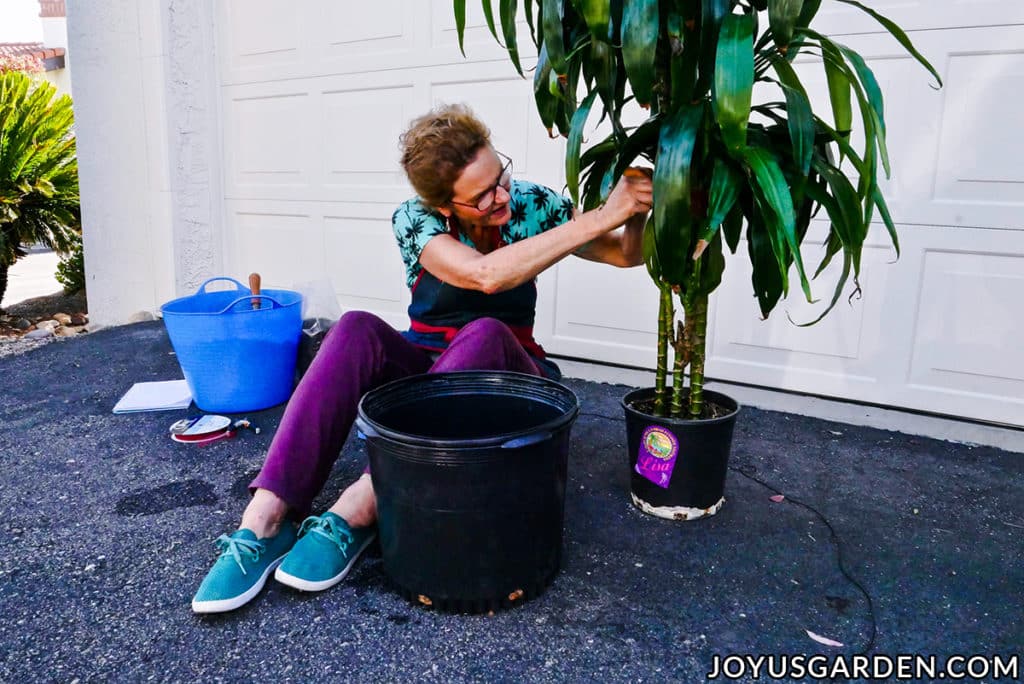
I repotted many of my houseplants this past spring and this 7′ Dracaena Lisa was one of them. The plant was getting quite tall and the 10″ grow pot was looking small and out of scale. This is all about Dracaena repotting, especially a tall one like this, including the soil mix to use, steps to take, and a couple of tips to make the whole process easier.
What you read here applies to all large Dracaenas. They like the same mix and you’d follow the same steps.
HEAD’S UP: I’ve done a general guide to repotting plants geared for beginning gardeners which you’ll find helpful.
When does a Dracaena need repotting?
It depends on the size of the plant and the pot it’s growing in. In general, every 3-5 years.
Here are the 4 reasons I repotted my Dracaena Lisa: the 10″ grow pot was no longer in proportion with the large plant, roots were appearing out of the drain holes, there was a lot of build-up of salts and mineral around the bottom of the pot, and it was drying out too fast meaning the rootball was tight.
Mine is now in a 14″ pot. The roots have plenty of room to spread out and it won’t have to be repotted for at least 5 years.
Some Of Our General Houseplant Guides For Your Reference:
- Guide To Watering Indoor Plants
- 3 Ways To Successfully Fertilize Indoor Plants
- How to Clean Houseplants
- Winter Houseplant Care Guide
- Plant Humidity: How I Increase Humidity For Houseplants
- Buying Houseplants: 14 Tips For Indoor Gardening Newbies
- 11 Pet-Friendly Houseplants
Dracaena repotting in action:
Pot size
A Dracaena Lisa can reach 15′ tall. With large plants like this, you can go up a pot size or 2.
As the plant gets bigger, it’ll need a bigger base. Mine was in a 10″ grow pot and I repotted it into a 14″ pot (which is going up 2 pot sizes). It now has plenty of room to grow.
Make sure the pot has drain holes. The 14″ pot I used has 6 of them.
Does a Dracaena like to be root bound?
It doesn’t mind being a bit root bound and will do fine. If it gets too root bound, it’ll stop growing.
The roots of mine were very tight and tangled at the bottom. The plant and grow pot were out of proportion. It’s happy as a clam right in its new pot and has grown a few inches since this repotting adventure (I’m writing this 3 months after filming the video).
Time of year for Dracaena repotting
Spring, summer, and into early fall are good times for repotting Dracaenas. If you live in a climate where winter comes early, then spring and summer are best. Here in Tucson fall is mild – I repot up until the end of October.
It’s best to avoid repotting in winter if you can because plants like to rest during this time.
By the way, I repotted mine in mid-April.
Soil mix
A Dracaena likes a rich, somewhat chunky soil mix that drains well. You don’t want the roots to stay too wet otherwise they’ll rot out.
My plant was growing in a mix that contained quite of bit of lava rock. I wanted to use rock in the mix I was creating so it was well aerated and lighter just like the original mix. Your Dracaena may not be growing in a mix with rock so I’ll leave alternative mixes (with 2 ingredients) down below.
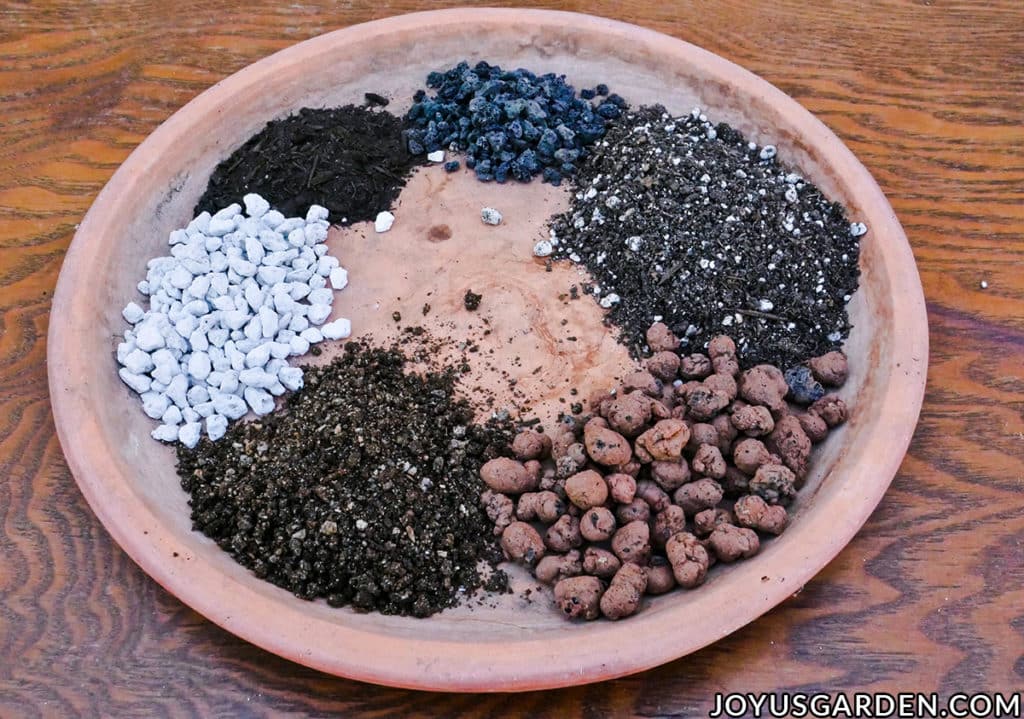
The mix I created was roughly 1/2 potting soil and 1/2 rock.
Use a potting soil that is peat-based & formulated for indoor plants. I alternate between Happy Frog & Ocean Forest.
For the rock I used a mixture of lava rock & clay pebbles.
I also tossed in a few handfuls of chunky pumice as well as a few of compost.
I topped with a 1/4″ layer or worm compost with a sprinkling of mix over that.
How I feed my houseplants naturally with worm compost & compost
I have many plants (both indoors and outdoors) and do a lot of repotting so I have a variety of materials on hand at all times. Plus, I have plenty of room in my garage cabinets to store all the bags and pails. If you have limited space, I give you a few alternative mixes suitable for repotting Dracaenas down below which consist of 2 materials.
Alternative soil mixes:
1/2 potting soil, 1/2 pumice
1/2 potting soil, 1/2 perlite
1/2 potting soil, 1/2 clay pebbles
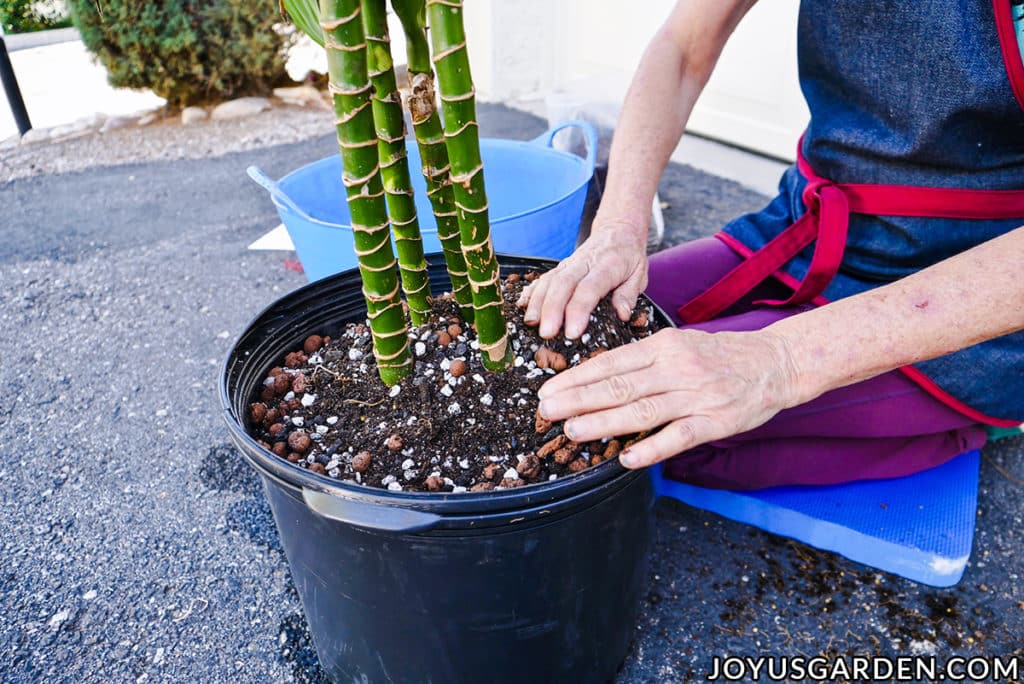
How to repot Dracaena
I watered the plant the day before the repotting. A dry plant is stressed so I make sure my houseplants are watered a day or 2 in advance. I find that if I water the day of, the soil can be too soggy making the process a bit more messy than it already is.
I put a single layer piece of paper bag over each drain hole to keep the loose particles from washing out with the 1st few waterings.
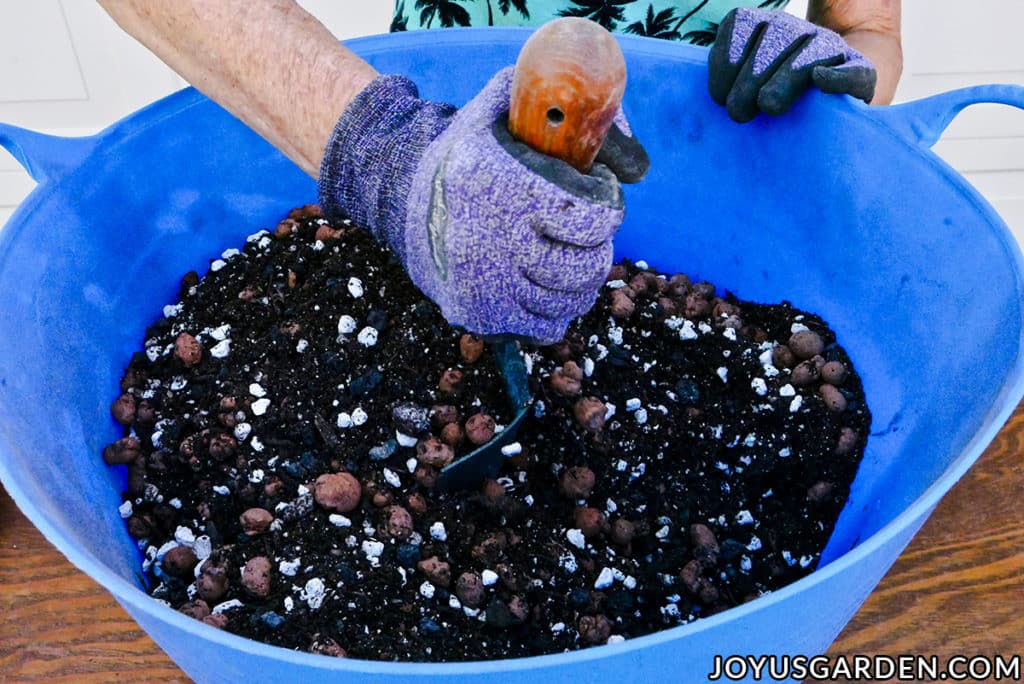
All soil ingredients were mixed up in my trusty Tub Trub. I find it easiest to do it this way so everything gets well blended.
I tied the lower leaves up to get them out of the way. You can see this is the video.
Fill the grow pot with enough mix so that the rootball sits about 1/2″ below the top of the pot. I use my hand and arm as a measuring device (another thing you can see in the video) to get an idea of how much mix I need to put in.
Water that bottom layer of mix well. You might need to add a bit more mix if it has sunk down after watering.
Loosen the rootball from the grow pot. I used a trowel for this. A dull knife or pruning saw also do the job.
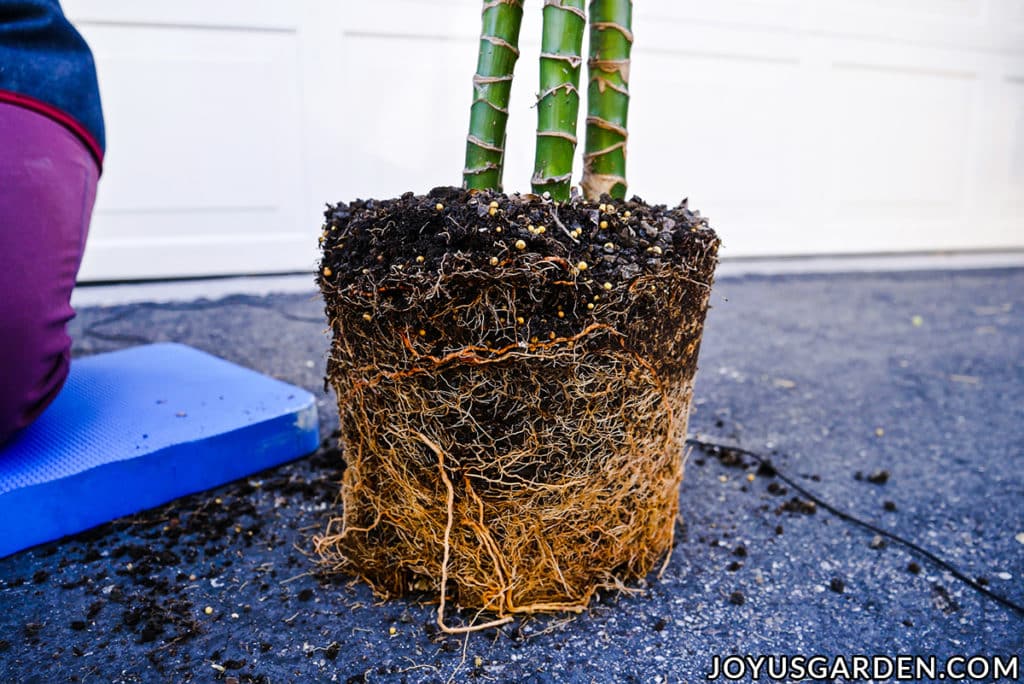
Massage the roots to loosen them if needed. The roots of my Dracaena were tight at the bottom so this helps them find their way out of the tangled root ball. They’ll grow out eventually but this gives them a head start.
Put the plant in the pot (usually in the center) and start to fill in with the mix around the sides. I sprinkled in a few handfuls of compost also.
Top with a 1/2″ layer of worm compost.
I like to have the soil mix (including the worm compost) cap at 1/2 to 1″ below the top of the pot. This allows for watering without the mix spilling out.
Note: Don’t cover the canes with mix too far above the existing root ball – up to 1″ is okay.
Quick tips to help you with large Dracaena repotting
- Dracaenas have canes (stems or trunks) that are often covered with foliage top to bottom. That was the case with my Dracaena Lisa. The lower leaves get in the way and/or can get damaged during the repotting process. I tied them up with a piece of ribbon to keep them out of the way to prevent this.
- In instances like this, the buddy method is the easiest way to go. A large plant like this can be cumbersome and oftentimes heavy. I usually get small plants out of their pots by turning them on their sides and pressing on the pot. This is harder to do with large plants. I loosened the rootball from the pot with a trowel and Brielle, who was filming me, held on the pot while I pulled the plant out.
Aftercare
Following the repotting, I moved my Dracaena back into the bedroom by the window. It grows in a north exposure and gets plenty of natural light reflecting off a white wall outside but no direct sun. I live in the Arizona desert where there’s lots of sunshine year round so this location seems to be its sweet spot.
The plant was watered the day before I did this repotting. The bottom layer of soil mix was thoroughly moistened when I put the rootball in. I let the plant settle in for about 8 days before watering again.
When I water this plant now, I carefully do it only around the rootball. This grow pot has a lot more soil mass which I don’t want to stay too wet and cause the plant to rot out. As the plant and the rootball grow, I extend the watering out.
Right now it’s summer in Arizona and very hot. I water this plant every 8-14 days. In the winter it’ll be every 3-4 weeks, maybe even less frequently. I’ll see how fast it’s drying out. Even though the top of the soil is dry, it could be wet closer to the bottom where the roots are.
In my experience, I’ve found them to have a moderate growth rate. Mine has put out about 5″ of new growth since the repotting 3 1/2 months ago. If yours is in a low light situation, the growth will be slower.
Dracaena repotting isn’t hard at all. Working with a large one can be a bit more challenging so it’s good to get a buddy to help you out. Those big plants need room to grow!
Happy gardening,

Other useful gardening guides:
- Repotting Rubber Plants
- Christmas Cactus Repotting
- Dracaena Song Of India Care
- Planting Aloe Vera in Containers
- ZZ Plant Care Tips
This post may contain affiliate links, you can read our policies here.
- About the Author
- Latest Posts

Nell, the founder of Joy Us garden, was born into a gardening family and grew up in Connecticut’s countryside. After living in Boston, New York, San Francisco, & Santa Barbara, she now calls the Arizona desert home. She studied horticulture & garden design, working in the field all her life. Nell is a gardener, designer, blogger, Youtube creator, & author. She’s been gardening for a very long time & wants to share what she’s learned with you.
Hey Nell,
Great article on repotting. I wonder how do you manage to keep diseases/pests at bayto keep these houseplants stay green.
Please share any article if you’ve on your blog.
Thanks.
Hi Umatul – Thank you! I live in a dry climate & I think that helps. As you know, a healthy plant is a stronger plant. Feeding & proper watering help. Nell