Getting 2 Plants From 1: Dividing And Planting A Foxtail Fern
Shopping for plants is 1 of my favorite things to do. I set out last December in search of 2 Foxtail Ferns to plant at the edge of my pink grapefruit tree but the ones available in the 1 gallon size were on the puny side. The 5 gallon plants were looking much more pleasing to the eye, robust and healthy so I decided to get 1 and split it into 2. This is all about dividing and planting a Foxtail Fern.
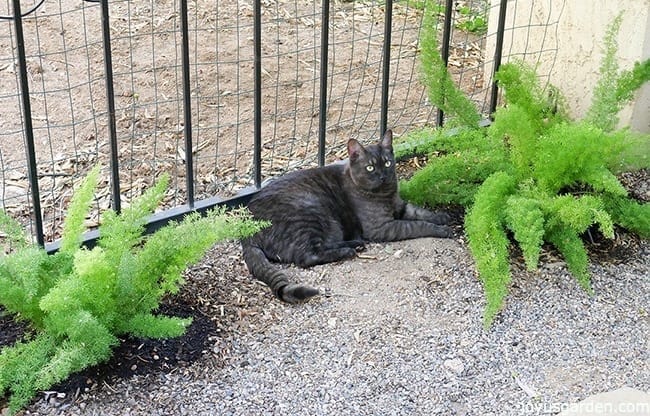
I love these plants and even though their called Foxtail Ferns or Myers Ferns, they actually aren’t true ferns. As they grow, their twisting, arching fronds become quite sculptural. I had a large 1 growing in my Santa Barbara garden and needed (wanted!) at least 1 in my new garden here in Tucson. Not only are they artsy as can be but tough as nails. In my horticultural book, Foxtail Ferns are as easy as can be to maintain.
Dividing & planting a Foxtail Fern in my side garden:
Steps:
First step was to dig 2 holes at least twice as wide as deep. The bottom of the holes were worked over with a spading fork because the soil in this area hadn’t been dug into in years, if at all.
Fill the holes with water to loosen the soil even more & make sure the water thoroughly drains out. 1 drained in about 15 minutes & the other took about 45 minutes.
Put a 3-4″ layer of soil building conditioner (I used Gardener & Bloome) in each hole to help break up the soil. I use compost for amending but always use a conditioner when the soil hasn’t been worked for a while. Wet thoroughly.
Fast forward to a few weeks later when I finally got around to the planting. I gently stomped on the grow pot of the 5 gallon Foxtail Fern to loosen it. These plants have very dense & fleshy roots which grow from fat tubers so it took a little wiggling to get it out. If something like this is giving you a particularly hard time, then cut the grow pot to get the plant out.
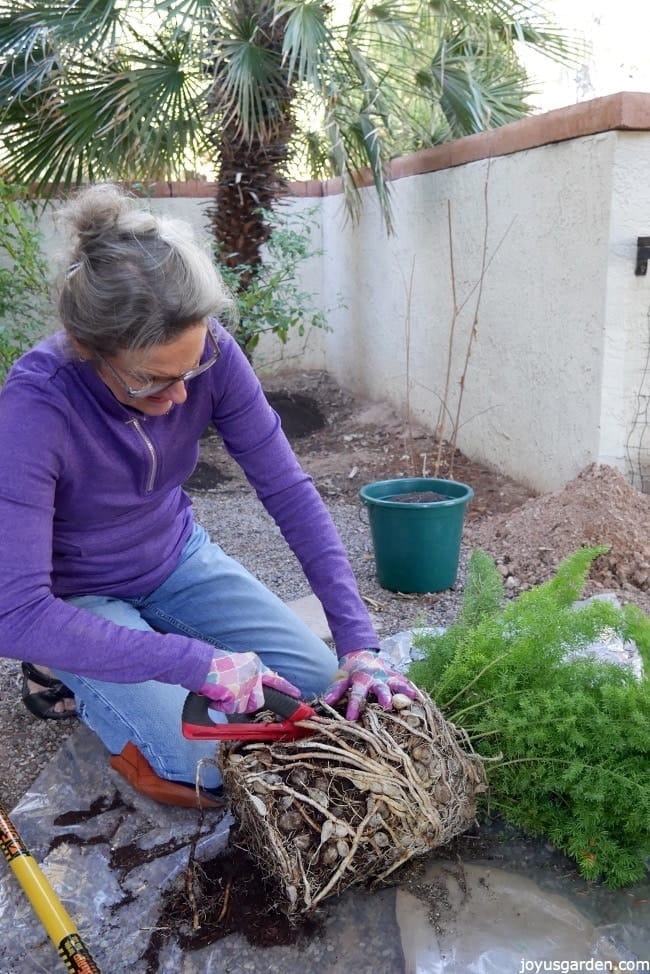
Divide the root ball in half, or as close as possible. This one was more like 1/3, 2/3 – that happens. I thought I might be able to use the shovel but I had to use my pruning saw. I cut as carefully as possible & you might cringe a bit seeing me saw away in the video but just know that Foxtail Ferns are tough cookies!
I put the plant in the hole, cut side facing the fence. Fill in the hole with compost (I used 1 from a local company) & native soil in the ratio 1:3, watering as you go.
Let them settle in a bit (I waited a day) & top with worm compost. This is my favorite soil amendment. I topped that with a combo of compost & soil conditioner & watered again.
I followed the same steps as I did in the planting a perennial successfully blog & video eccept that I dug the holes wider & used the soil conditioner.
Some plants are easy to divide and some aren’t. I just wanted to give you this option in case you can’t find 2 smaller ones that are good looking and healthy. A big bonus: the 5 gallon plant was cheaper than 2 – 1 gallons. And that my friend, leaves more money to buy more plants!
Happy gardening & thanks for stopping by,

You May Also Enjoy:
Roses We Love For Container Gardening
Ponytail Palm Care Outdoors: Answering Questions
- About the Author
- Latest Posts

Nell, the founder of Joy Us garden, was born into a gardening family and grew up in Connecticut’s countryside. After living in Boston, New York, San Francisco, & Santa Barbara, she now calls the Arizona desert home. She studied horticulture & garden design, working in the field all her life. Nell is a gardener, designer, blogger, Youtube creator, & author. She’s been gardening for a very long time & wants to share what she’s learned with you.
What are those root bulbs surrounding the roots? I loved your video
Thank you Rosa. Those are tubers & they’re how the plant stores its nutrients & also spreads. Nell