Satin Pothos Propagation: Scindapsus Pictus Propagation & Pruning
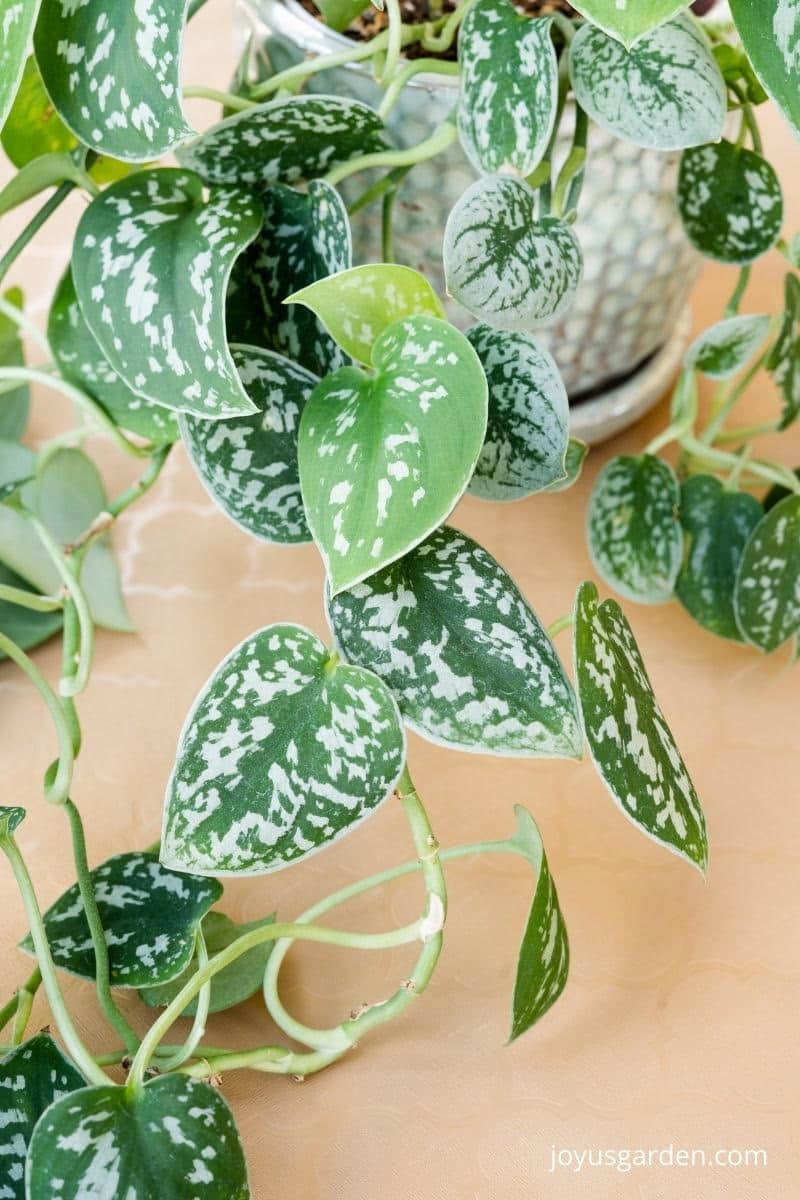
Scindapsus pictus are uniquely variegated, vining plants that are not only beautiful but also easy to grow. Part of their care involves pruning, and with that comes propagating. This outlines Satin Pothos propagation including pruning, propagating, cuttings care, planting, and other things good to know.
But first, I want to share with you a few names this plant goes by. The botanic name is Scindapsus pictus argyraeus but it’s often seen as just Scindapsus pictus. Common names include Satin Pothos, Silver Pothos, Silver Satin Pothos, and Silver Vine. Quite a few!
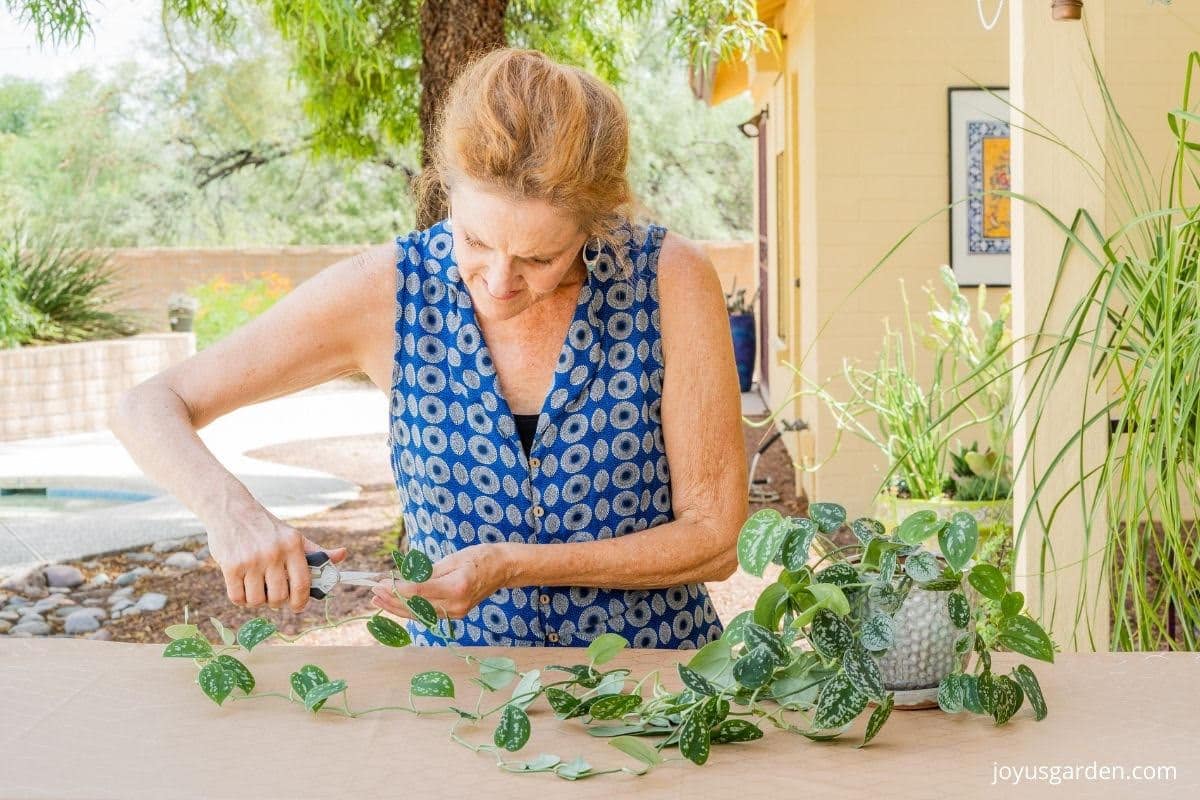
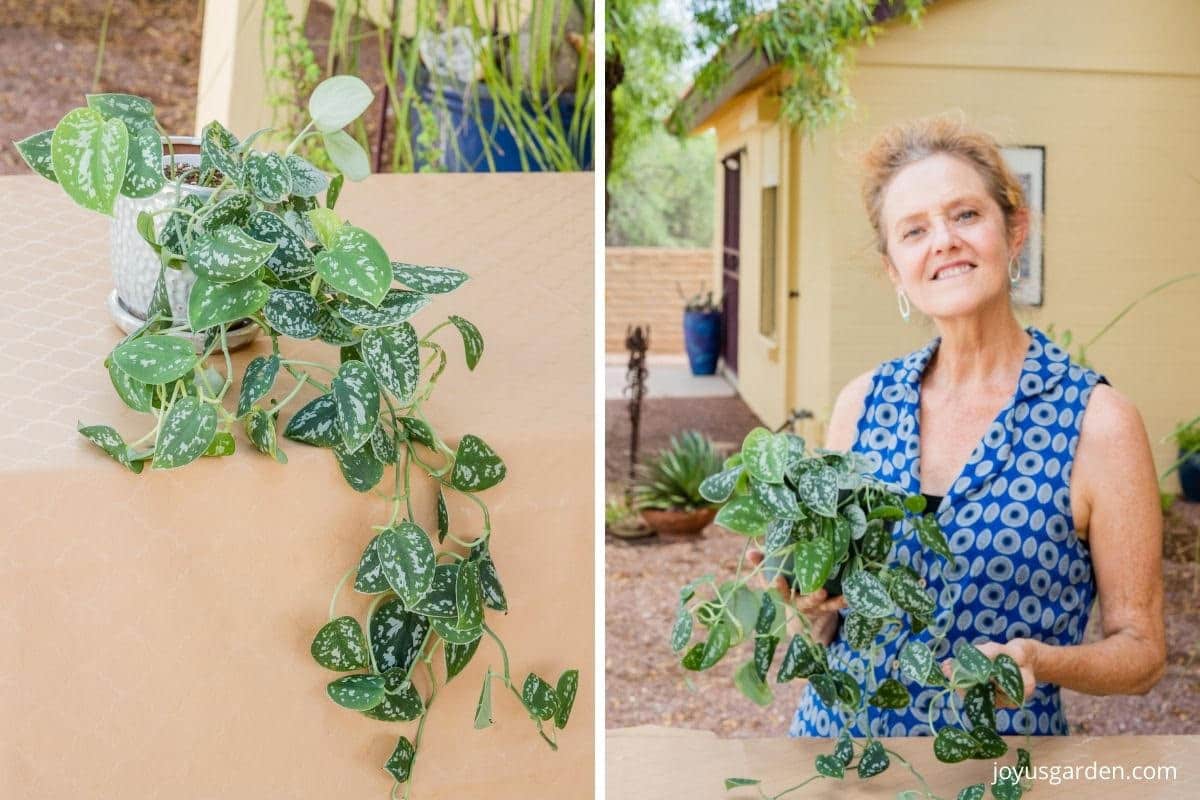
My Satin Pothos was getting spindly on the top and a few of the stems were bare in spots so I decided it was time for a prune. Trimming a Satin Pothos is a good way to keep it fuller. As long as I was pruning, why not throw in a little propagation as well?
The method I use for propagation here is via stem cuttings in water. I prefer propagating in water for the majority of my houseplants because I can see the rooting action and how it’s progressing.
You can root Satin Pothos in soil mix also – either a light potting soil, a propagation mix, or a succulent mix. Another method of propagating for home gardeners is by division. This post shows you how I divided my ZZ Plant.
Some Of Our General Houseplant Guides For Your Reference:
- Guide To Watering Indoor Plants
- Beginner’s Guide To Repotting Plants
- 3 Ways To Successfully Fertilize Indoor Plants
- How to Clean Houseplants
- Winter Houseplant Care Guide
- Plant Humidity: How I Increase Humidity For Houseplants
- Buying Houseplants: 14 Tips For Indoor Gardening Newbies
- 11 Pet-Friendly Houseplants
Reasons to Prune a Satin Pothos
These plants are slow to moderate growers. If in low light conditions, the growth rate will be slower. Therefore, you may not need to do much pruning to control the growth.
Other reasons you’ll need to prune are to encourage fullness, remove spindly stems, and/or to propagate. I tip prune or pinch my Satin Pothos once or twice a year to make it bushier on the top.
When to propagate and prune
Spring and summer are the best times to propagate indoor plants. If you live in a climate with warmer winters like me (I’m in Tucson, AZ), then early fall is fine too.
If for some reason you have to propagate your Satin Pothos in winter, no worries. Just know it’s not the optimum time. I’ll occasionally tip prune in the cooler months, but in general, I leave my houseplants be.
Satin Pothos propagation in action:
Important to know
Make sure your pruning tool is clean and sharp. Satin Pothos have thin, fleshy stems so I like to use my Fiskar snips when pruning these plants because they make precise, easy cuts. A good pair of scissors would work also.
What you’ll need for Satin Pothos propagation in water
- pruning tool – snips, pruners, or scissors
- jar or vase
- fresh and clean water
That’s it!
How to Cut
You want to make clean cuts straight across the stem.
Where to cut
Make your cuts about 1/8″ below the leaf nodes/root nodes. You need at least 1 node to go in the water when propagating because that’s where the roots emerge from.
I don’t cut the stems at the same length. I stagger the cuts a bit because I think that looks more natural.

This plant isn’t a fast grower like its relative the ever-popular Golden Pothos. I’ve propagated very long cuttings of that one.
This is the 2nd time I’ve propagated a Satin Pothos. The cuttings I took this go-round were about 16″ long. You can do them shorter if you’d like.
Satin Pothos propagation steps to take
The video above illustrates this but here are the main points:
Gather the materials needed.
Make your cuts straight across just below a node.
Cut off 1-3 leaves at the base of the stems. You don’t want any foliage to be submerged, just the stems and the nodes. These stems are thin and fleshy so I didn’t want to tear them by ripping off the leaves.
Put the cut end of your stem cuttings right into water or soil mix. There’s no need to let them heal over like you would Succulents.
When rooting in water, make sure the bottom node (or 2) is submerged in water at all times. When the cutting is shorter, I submerge 1 bottom node. If longer, then the 2 bottom nodes. I don’t keep the jar full of water because I don’t want roots to form all the way up and down the stem, just at the base.
Satin Pothos cuttings care
Put them in a bright spot. My cuttings rooted in my office near but not in a south-facing window. They received lots of bright indirect light.
If in too much direct sunlight, they’ll burn. If not receiving enough light, the foliage will become stunted and the Satin Pothos cuttings will be weaker.
You want to keep the water fresh. I changed it out every 7-10 days. Be sure to maintain the water level so those emerging roots don’t have a chance to dry out.

When new roots appear
I saw the 1st root appearing after 10 days. The rest came after the 2-week mark.
When the cuttings are ready to plant
I planted mine about 4 weeks after the pruning/rooting process began. I planted them back in with the mother plant so I didn’t want the roots to be too extensive. If the roots are too long and thick, it’s harder to get them in and positioned around the root ball.
I left my previous round of Satin Pothos cuttings (taken about 6 years ago) in water for about 8 months so the roots were much more extensive and developed. They were put into a 4″ pot (by themselves) making it much easier to plant with those long roots.
Planting the cuttings
The video will illustrate this towards the end. 1/3 of my plant was bare in the back because it grows on a table against the wall, not as a hanging plant.
I repotted my Satin Pothos about 4 weeks prior to this so the potting mix was fresh and light. I have a mini-trowel that I use to create holes and this makes it easy to plant the cuttings in.
Get the roots down in the mix the best you can. As the cuttings grow, they’ll find their way down.
From now on, water the plant as you normally would. Just make sure the cuttings don’t dry out until they’re fully rooted in.
Satin Pothos propagation is easy to do, even if you’re a beginning houseplant gardener. Give it a go and you’ll see!
Happy gardening,

This post may contain affiliate links, you can read our policies here.
- About the Author
- Latest Posts

Nell, the founder of Joy Us garden, was born into a gardening family and grew up in Connecticut’s countryside. After living in Boston, New York, San Francisco, & Santa Barbara, she now calls the Arizona desert home. She studied horticulture & garden design, working in the field all her life. Nell is a gardener, designer, blogger, Youtube creator, & author. She’s been gardening for a very long time & wants to share what she’s learned with you.