How To Prepare and Plant A Flower Bed
I love both flowering plants and cut flowers – seeing them in the garden or in a vase in the house makes my little heart patter in a very good way. My garden is full of succulents, bromeliads and plants from the Mediterranean and Australia. It certainly is not a riot of color but the interest from foliage, form and texture sure is there. I have a few pots planted with annuals here and there and always have a vase or two of flowers inside thanks to our farmers market. I would have been a great flower child in the 60’s.
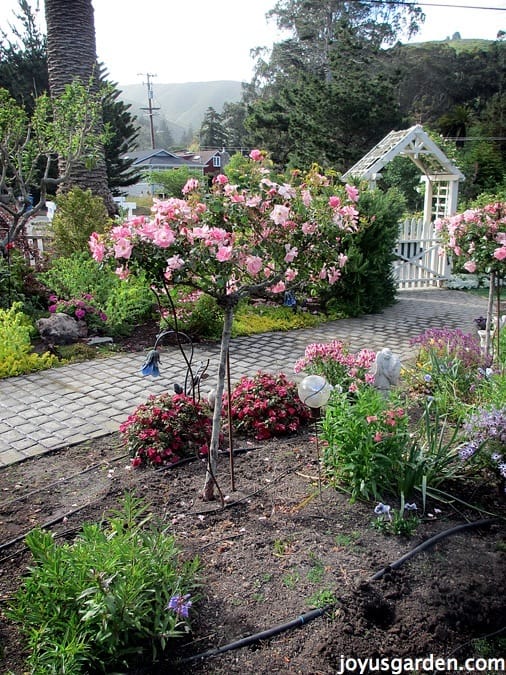
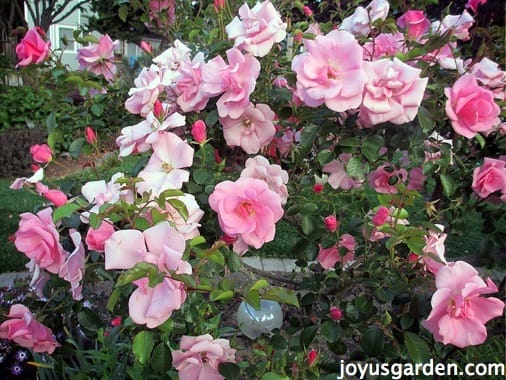
The “Walkway Bed” before it’s prep & planting
I go up to Pacifica (just south of San Francisco) twice a year to do annual color changes in a garden I’ve worked on for many years. Yippee … this scratches my itch for shopping for blooming plants. A trip to nurseries buying flowers is one of the most fun ways I can think of to spend an afternoon or 2. In mid May I jam packed my car with plants, leaving just enough room to see out the mirrors, and headed north for the 5 hour drive. Below, I layout the steps I take to preparing and planting a bed. And, be sure to check out the video How To Prepare And Plant A Flower Bed shot in this same garden at the end of this post.
Most of the pansies & bulbs have already been removed from this bed.
Steps To Planting
I plan out how many plants I will need according to how wide each one grows. Because I am planting annuals in these beds, they will grow fast.
The unwanted perennials, annuals from the previous season & weeds get removed.
Perennials to remain get divided & moved to other beds. The remaining perennials & roses get pruned & cleaned up.
The soil gets turned over & then smoothed out to fill in the spaces were plants have been dug out. When planting annuals, I don’t get too crazy with the digging because they don’t root too deep.
The plants are laid out. I like to plant in blocks of color – it’s more restful on the eyes. The walkway bed is done in shades of pink & rose while the fairy bed is done in reds. Both are accented & tied together with accents of blue lobelia.
In this location, the pocket gophers are plentiful. “Baskets” are made from chicken wire to fit the root ball size.
Holes are dug & the planting begins. I believe in enriching the soil with composts only but when it comes to annuals, I use fertilizer too. The blend we use is 2 parts rose & flower food, 1 part alfalfa meal & 1 part composted chicken manure – all organic of course. We use a tablespoon or 2 per plant depending on the root size. At home I plant with worm compost but this garden has an abundance of worms so I skip it here.
The soil is smoothed out again & the drip irrigation tubes adjusted if necessary.
2” of compost is spread on top. This is a natural way to feed plants & conserve moisture. In this garden, it also hides the irrigation tubes.
The garden art is put back in.
The new plants are watered before they’re planted (if needed) & then again after planting.
The growing begins & a colorful masterpiece will evolve.
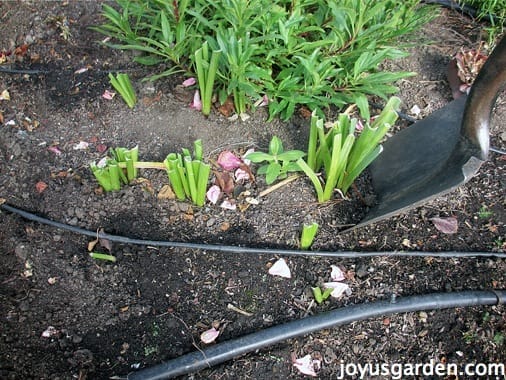
A few bulbs remain – weeds & volunteers are taken out also.
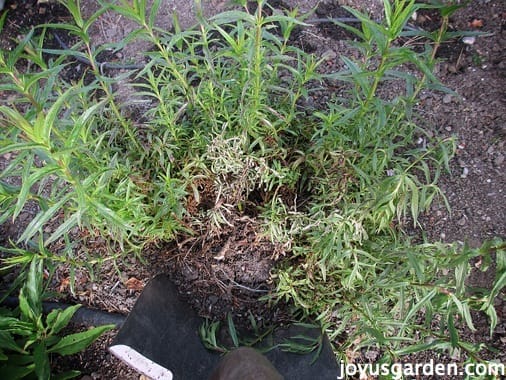
Some of the perennials which are not doing well get taken out. The others get a pruning if needed.
This cleans things up so you can really visualize the layout.
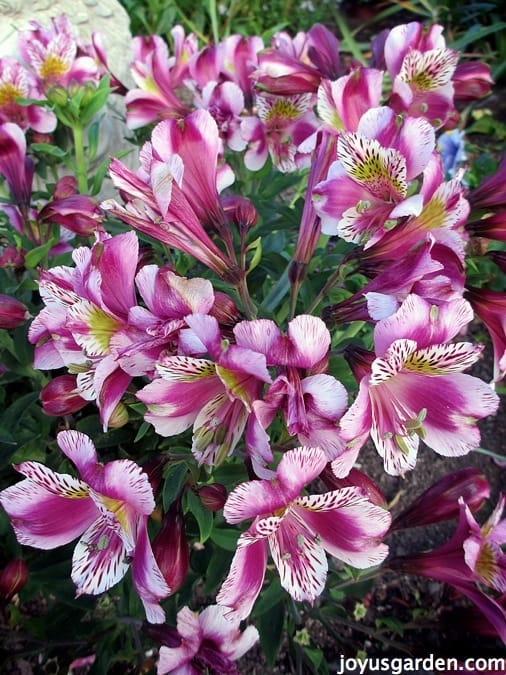
This Alstroemeria is one of the “pretties” which remain.
The 3 roses in this bed are thinned out & shaped at this time – it’s easier done before the annuals have all grown in.
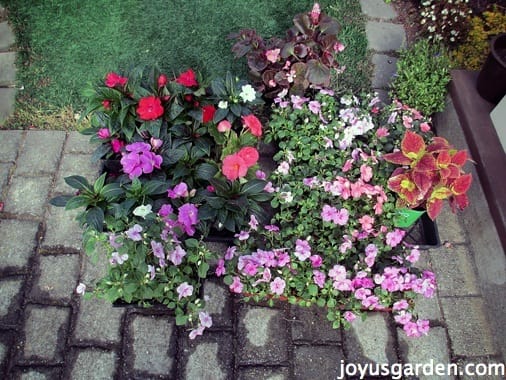

The 2 pictures above show some of what will be planted in theses beds – impatiens, new guinea impatiens and lobelia in 6 pak, 4″ & gallons.
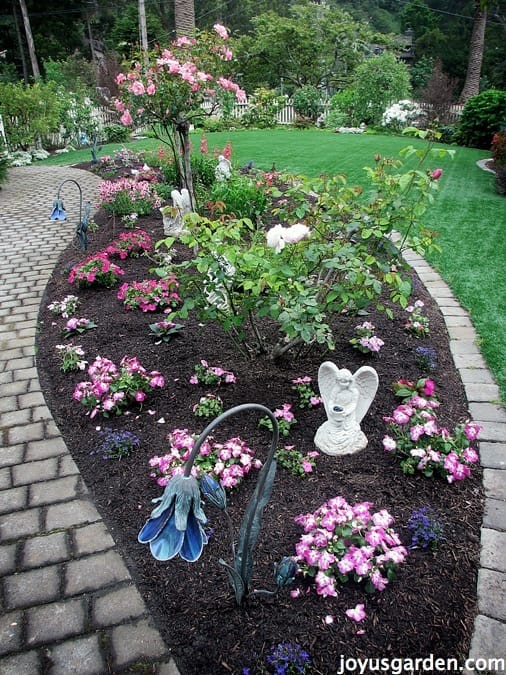
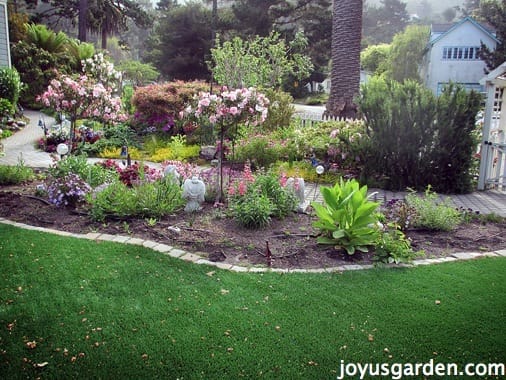
The finished walkway bed – now grow!
Flower beds require a little extra prep and care but it’s well worth it. Who doesn’t want to add a little color to their summer world?
This post may contain affiliate links, you can read our policies here.
- About the Author
- Latest Posts

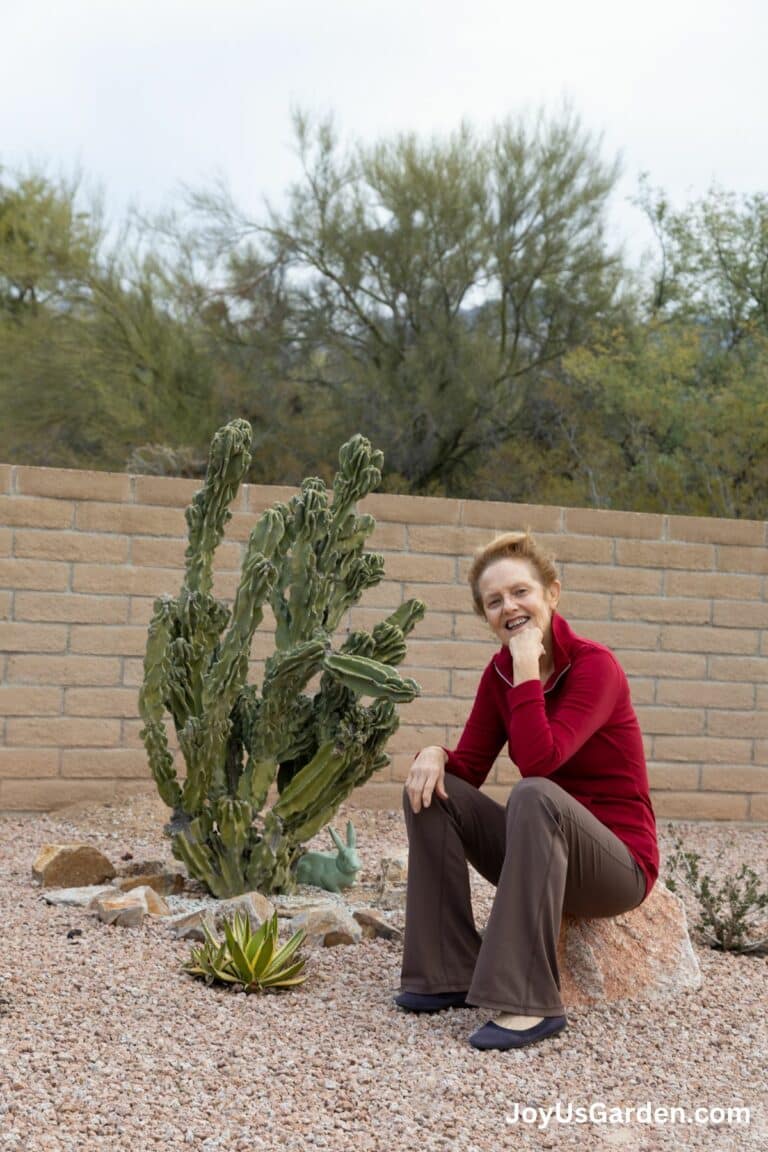
Nell, the founder of Joy Us garden, was born into a gardening family and grew up in Connecticut’s countryside. After living in Boston, New York, San Francisco, & Santa Barbara, she now calls the Arizona desert home. She studied horticulture & garden design, working in the field all her life. Nell is a gardener, designer, blogger, Youtube creator, & author. She’s been gardening for a very long time & wants to share what she’s learned with you.