Pruning & Propagating Peperomia Obtusifolia (Baby Rubber Plant)
Welcome, plant lovers! It was time to take action – this is all about pruning and propagating Peperomia obtusifolia.
This popular tabletop plant is prized for its easy-care tendencies and attractive fleshy leaves. Pruning and propagating Peperomia obtusifolia can help it maintain a compact shape and encourage new growth. This post will explore the best pruning and propagating techniques to keep yours healthy and thriving.
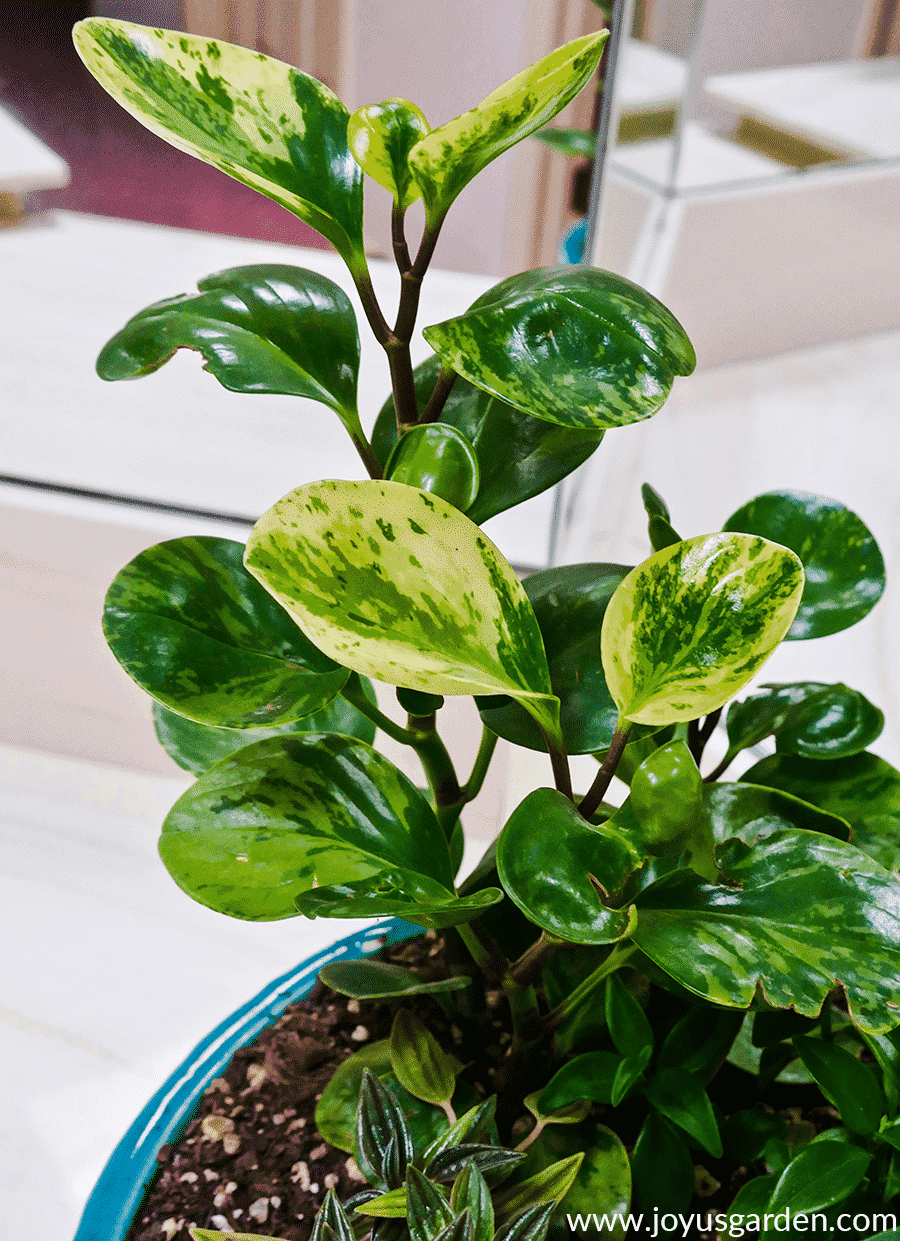
Peperomias are available in a wide range of variegations and leaf shapes and sizes. Most have glossy leaves, so why wouldn’t we want more of them? Some are more upright in nature, and some are vining. As it grows, the Baby Rubber Plant is a cross of upright and trailing.
This post applies not only to the solid dark green-leaved Peperomia obtusifolia but also to all its variegated forms.
- Botanic Name: Peperomia obtusifolia
- Common Name: Baby Rubber Plant, American Rubber Plant, Pepper Face
Note: This post was published on 4/3/2019. It was updated on 5/4/2024.
Pruning & Propagating Peperomia Obtusifolia
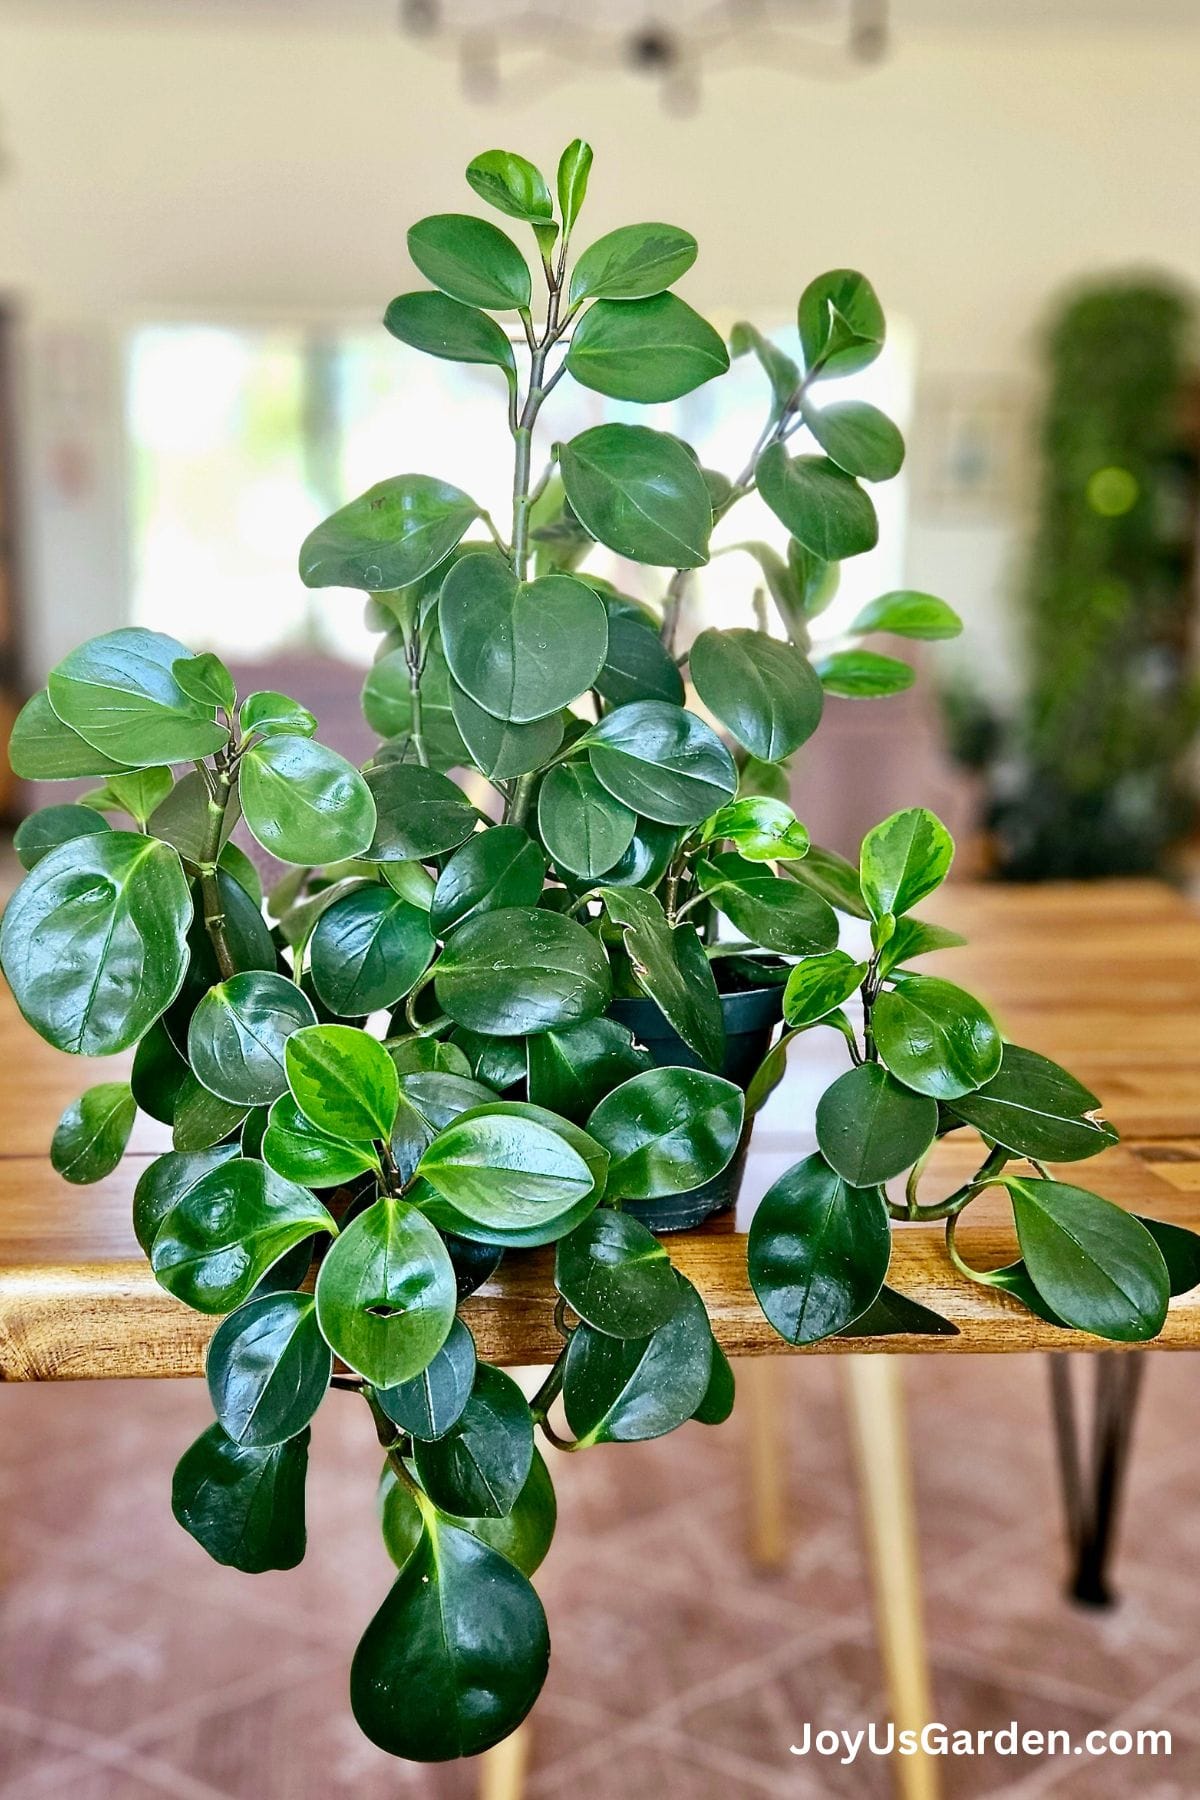
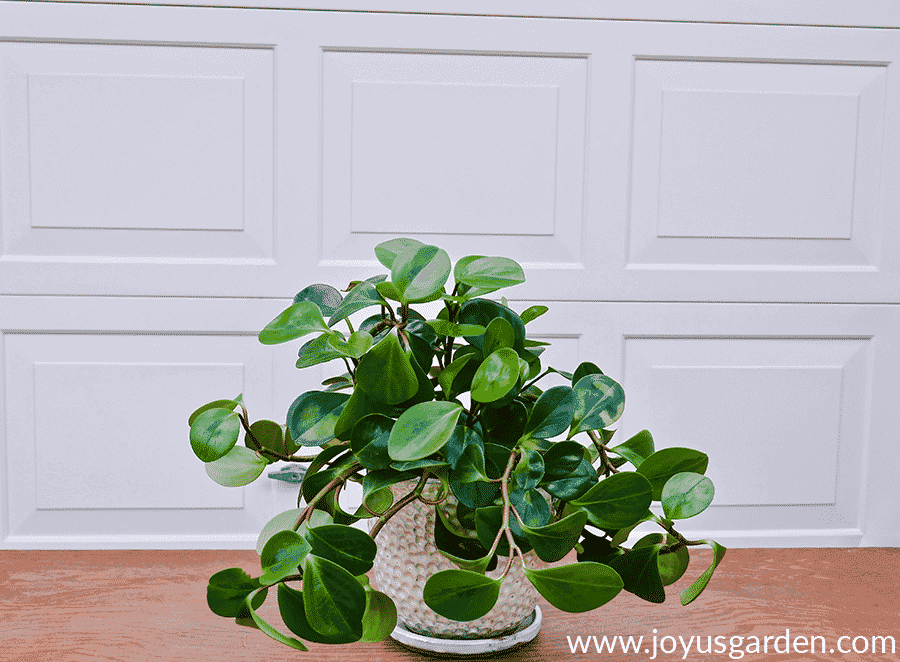
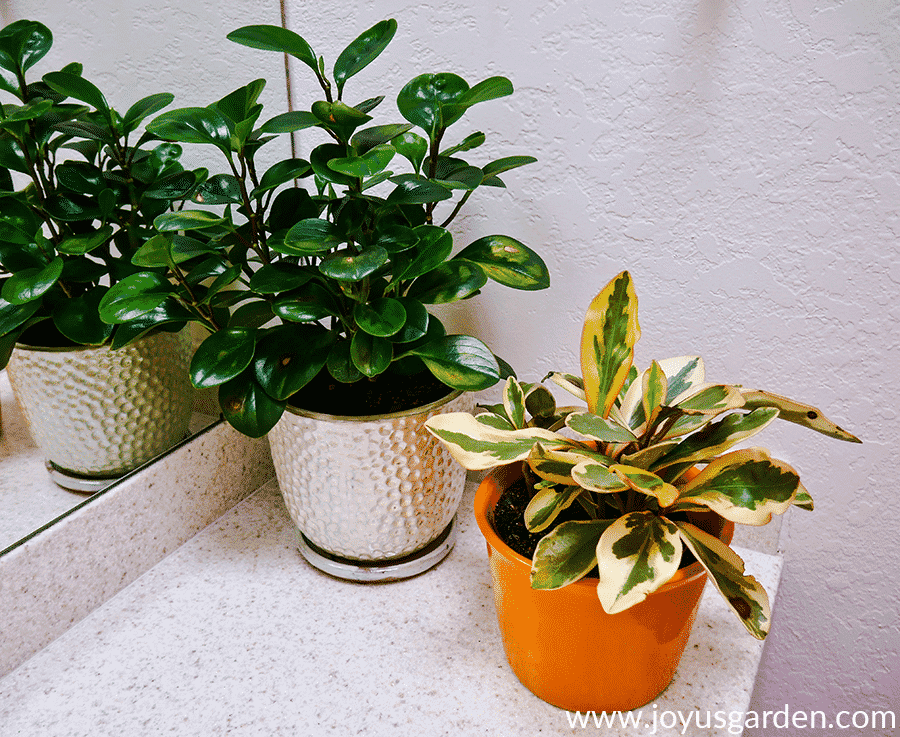
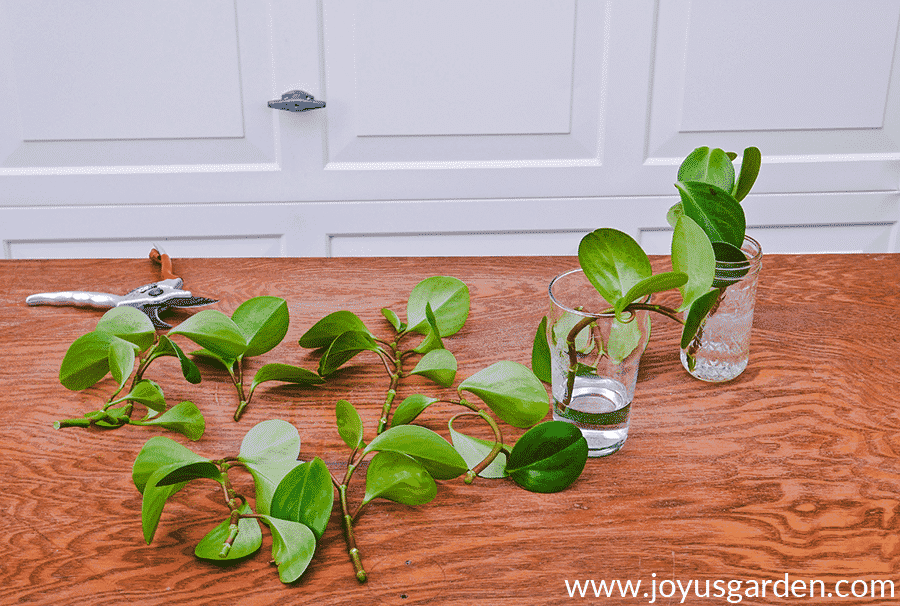
The Baby Rubber Plant (seen below) growing in my guest bathroom took up too much real estate, so I pruned it. I liked the flippy-floppy form it was taking on, but I didn’t want another hanging plant. And the Rainbow Peperomia growing next to it was happy to have more space.
Baby Rubber Plants respond very well to pruning. I had one that I cut back to 5″ tall, and the plant came back just fine. With the plant you see below, I took about 10″ of stems off. My new plant (seen above) started from these cuttings, had a good start, and is going strong in my new home.
I have a favorite way of propagating these plants (in my opinion, it’s the easiest!), which I share with you later and also in the video.
The best time to prune & propagate Peperomia obtusifolia plants
During the growing season. Spring and summer are the best times, into early fall, if you’re in a temperate climate. A big plus: rooting goes faster in the warmer months.
How to prune a Baby Rubber Plant
Legginess, a need for growth control, or an unhealthy appearance are indications that yours needs pruning. You may desire it to have a new shape, and pruning will do that.
Pinching vs. pruning. You may only need to pinch, or tip prune (cutting off the end inch or two) your plant to keep it in shape, but propagation requires pruning.
Make sure your pruners are clean and sharp. This ensures clean cuts, and you’ll lessen the chance of spreading any diseases.
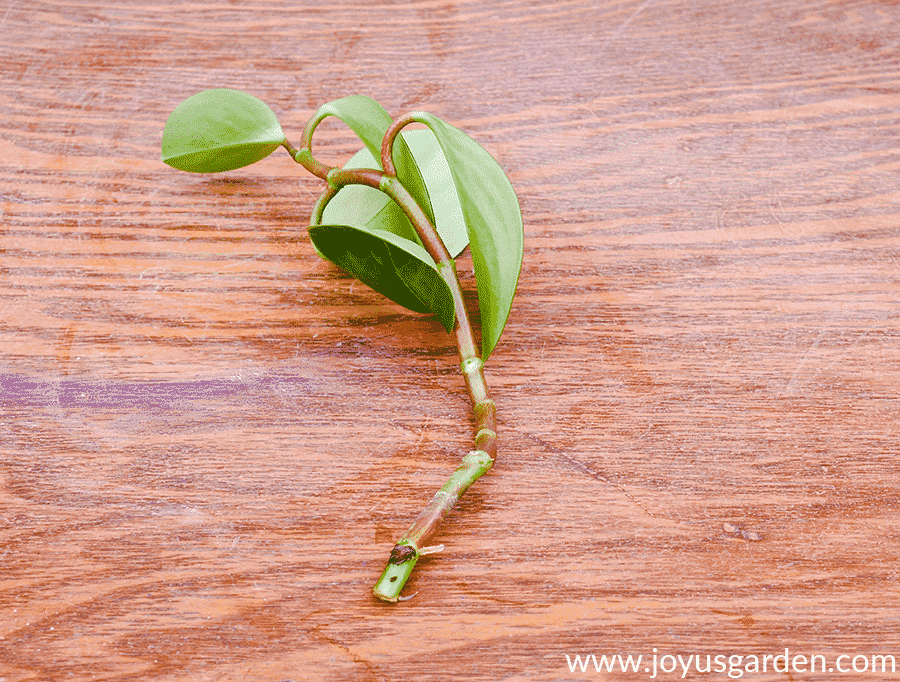
I made straight cuts right above a node, which is the point from which new leaves and roots will grow.
You’ll see this in the video. There’s nothing scientific or artistic about this pruning adventure. I’m just making cuts to shape the plant and also to propagate.
I removed the stems winding and trailing out of the pot and those crossing over. I also tip-pruned a few of the stems to encourage them to fill in a bit more. Most of the cuttings I took were 8 – 12″ long.
Are you interested in Peperomia obtusifolia care? Check out this post for all the details.
Regular pruning (once a year or so) encourages bushier growth. It keeps the plant in better shape and can be beneficial to its overall health.
This shaping of the Peperomia obtusifolia you see here forced it to grow more upright. If I wanted another hanging plant, I would have left it be and just done a little tip pruning every year or two. New side growth emerged off the main stems, causing the plant to fill in more.
Video Guide
How to propagate
1. Stem cuttings in water
Water propagation is my favorite method and the one I always use when propagating Baby Rubber Plants. I’ll refer to this method in the categories below. I take cuttings anywhere from 3″ to 10″ and remove the bottom 1 to 5 leaves.
Sometimes, if the stems are curved, I’ll cut off more. I want the stems to be as straight as possible. Remove a few of the lower leaves (the number depends on the stem length). Put the cut end of the stem in a vase or jar and follow the care instructions further down.
2. Stem cuttings in soil
Put shorter cuttings (3-6″) into a light potting mix with good drainage, like a propagation or succulent and cactus mix. You want the roots to emerge, and a dense mix will prevent that. Some people use rooting hormones, but I don’t. The choice is yours.
Keep them in a bright spot out of direct sunlight and make sure the mix stays evenly moist.
3. Leaf cuttings
I’ve never done this with Peperomias because I’m way too impatient. However, I know it can be done easily because there’s a lot of online information on this subject. The thick leaves and stems are well suited to this method.
4. Division
This works just fine if you can find a way to split the plant into two or three. When dividing indoor plants, I use a clean, sharp knife to start the process and then gently pull away the divided sections. You can see me dividing a ZZ Plant here.
5. Seed
Another method of propagating Peperomias I have no experience with, but it takes a very long time!
If you’re new to houseplant gardening, please check out our houseplant essentials list.
How long it takes for the cuttings to root in water
You’ll start to see new roots emerging in a week or two. I’ve found the process speeds up when the warm temperatures set in. I’ll be planting my cuttings in a couple of months’ time.
How to care for the cuttings in water while they’re rooting
Put the cuttings in a spot that receives bright indirect light, with no direct, hot sunlight. Mine are currently on an east-facing windowsill, which gets an hour of direct sun very early in the morning.
Check the water level to make sure the bottom node or two are covered with water. I do this every five days because I live in a warm, sunny climate. You may have to do it less often.
If the water starts looking funky, replace it with fresh water. I do this every two or three weeks to prevent bacteria from growing in the water.
My tap water has a lot of minerals in it, so I use filtered water from a faucet in my kitchen sink. Room temperature water is best.
Your cuttings have rooted; now what? This shows how to plant your Baby Rubber Plant cuttings.

Good things to know about the Baby Rubber Plant
This has nothing to do with Peperomia obtusifolia propagation, but they’re safe for pets. I know a lot of you are pet owners like myself (I have two kitties). According to the ASPCA, Peperomias are considered to be non-toxic.
Make sure only the bottom one to two nodes are in water. Don’t completely submerge the stems in water; otherwise, roots could emerge further up the stem.
Each cutting should have three to ten leaves, depending on the length of the stem. Don’t submerge any leaves in the water; they’ll rot.
Check the water level often to make sure the bottom node or two are in water. Change the water completely every two to three weeks so bacteria doesn’t start to grow.
Keep your cuttings out of any direct, strong sunlight. They’ll burn.
Want more info on peperomias? Here I answer your questions about growing peperomias.
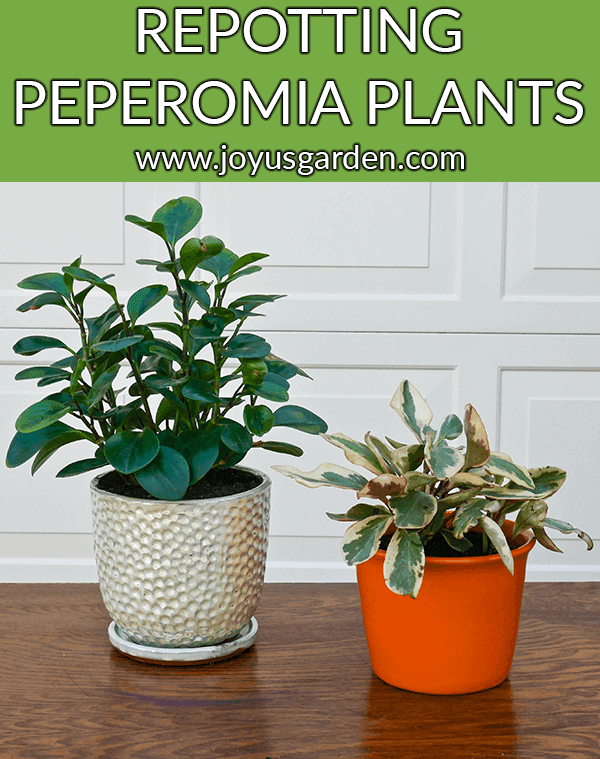
This post and video show how I repot peperomia plants and the proven mix I use. I currently have six peperomias (I love their foliage!), so one usually needs a bigger pot. They do very well here in the desert and handle the dry air like champs.
The majority of the cuttings I pot up are given away, but that’s not the case with these. I gave away the parent plant you see here and kept the cuttings.
If you’re new to indoor gardening, try pruning and propagating. Gardening is all about experimentation and seeing what works. This is one of the easiest houseplants and glossy foliage – what’s not to love?!
Happy gardening,

- About the Author
- Latest Posts

Nell, the founder of Joy Us garden, was born into a gardening family and grew up in Connecticut’s countryside. After living in Boston, New York, San Francisco, & Santa Barbara, she now calls the Arizona desert home. She studied horticulture & garden design, working in the field all her life. Nell is a gardener, designer, blogger, Youtube creator, & author. She’s been gardening for a very long time & wants to share what she’s learned with you.
Thank you for sharing this nice information . I love this !
Happy to share Edith! Nell
Hello Nell!
A few weeks ago I bought a peperomia plant from a local nursery that looked exactly like yours and I eagerly pruned it after watching your video. After about a week I then realized the soil was rock hard and very dry and I tried watering it a bit and the water would just go right through the bottom. I thought I had no other choice but to repot it and give it some fresh soil, but now my poor little plant is having a hard time. He is now very limpy, the old leaves are falling off, the new leaves are limpy and soft. I’m not sure what I can do to help this situation! I realized I may have put too many stresses on the plant, and I may have pruned it back a little much, but I’m not sure if I can reverse my mistakes. Any advice would be great! Thank you!
Hi Elizabeth – Limp, spongy leaves are usually due to too much water. Perhaps the soil was too dense. These plants are tough. Here’s a post on care for you: https://www.joyusgarden.com/peperomia-care/ Nell
Thank you so much for this information…I have a variegated variety which I love. It is so beautiful but it is awfully top heavy. I thought that it was supposed to remain erect and was therefore getting too tall. I didn’t realize that it has the ability to hang as well. I will follow your instructions for propagating as I prefer the look of the lower height of the leaves. Peace to you and thanks again!
Angela~
Hi Angela – The stems & tops get heavy which pulls it all downward. I don’t mind the look but have so many plants I need it to grow upward. I just pruned this plant again. They grow like crazy. And, you’re welcome! Nell
Do the cuttings need to callus over before putting in water?
Hi Tom – I usually let them heal over for 1/2 – 2 hours before putting in water. Their stems are fleshy & full of water. Nell
I have 3 peperomia marbleplants, which came altogether in a single pot. I’ve transplanted them to a 6-inch pot and have staked upright (because I thought they were supposed to be that way). They are growing quickly and have grown to be approximately 24 inches tall, soil to top. They haven’t branched at all, but look stately and healthy. Am considering a repotting to a larger pot to set on the floor or low table, but’s now I’m considering pruning to about 5-6 inches and propagating the cuttings to eventually add to the pot for a denser plant.
Ideas or suggestions? How tall could these plants grow if left as they are? I’m a bit nervous about pruning as I don’t want to ruin this favorite plant!
Hi Sally – Baby Rubber Plants, marble variety included, handle pruning very well. I’ve never heard of one getting that tall; maybe 20″ at the most. Pruning should force out new side growth & get them to branch. Nell