Welcome to Joy Us Garden
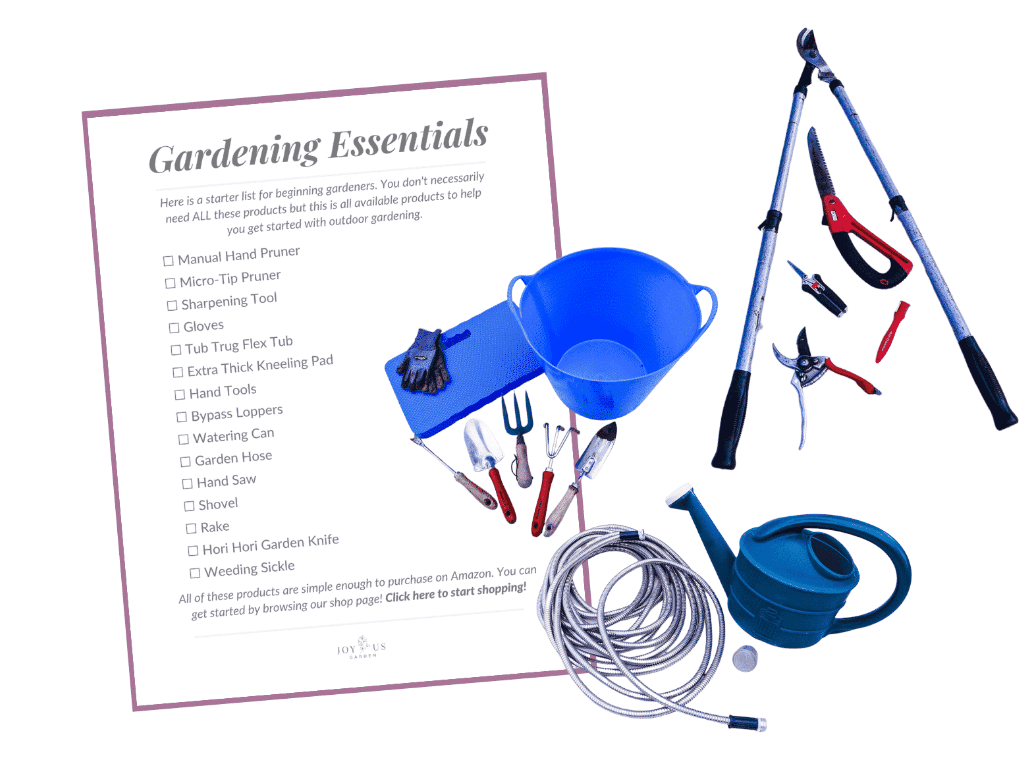
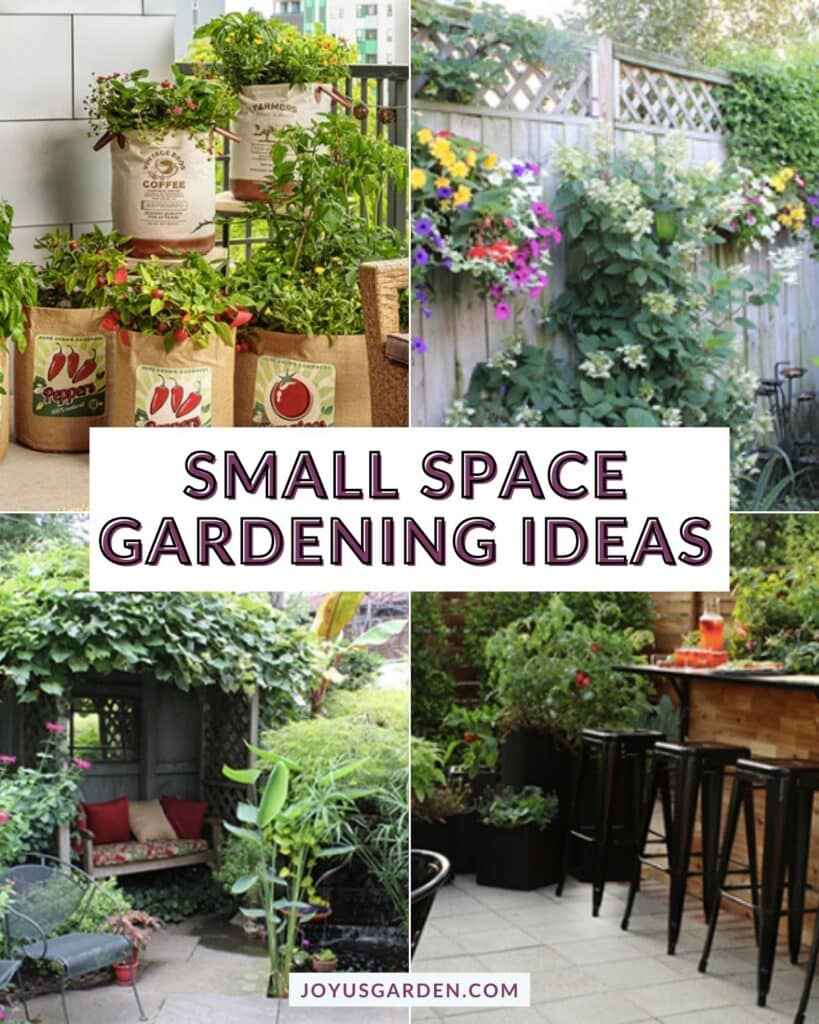
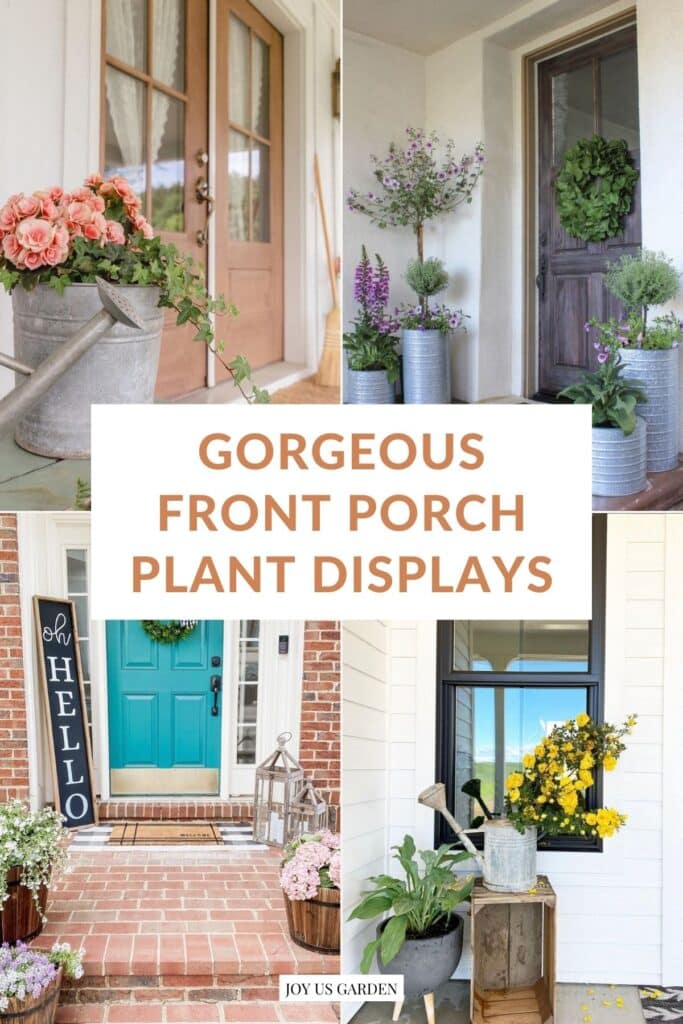
Gardening is a fun and rewarding activity. Welcome to Joy Us Garden, where you can find tips, tutorials, care information, and DIYs to help the beginning gardener, as well as new tricks for experienced gardeners.

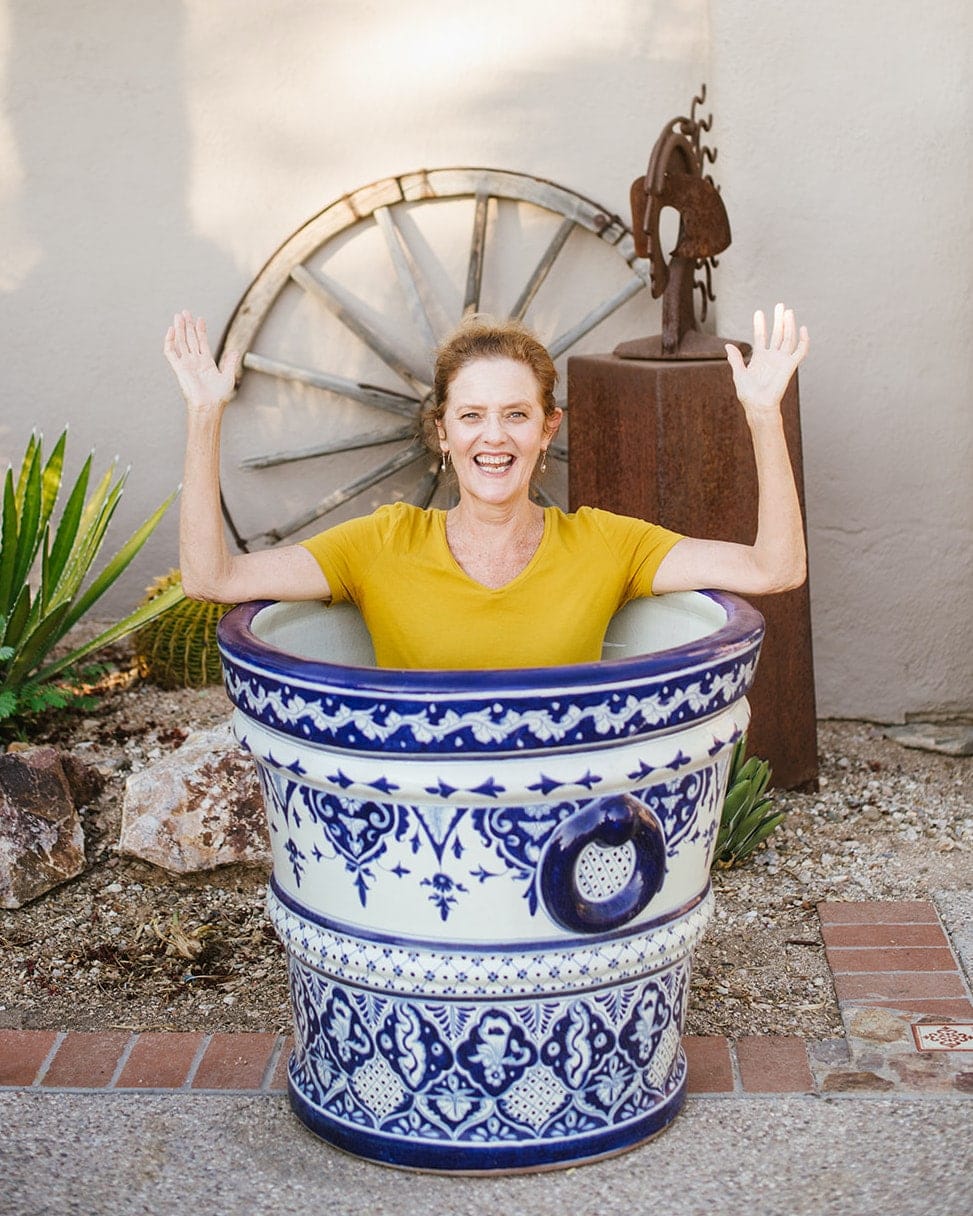
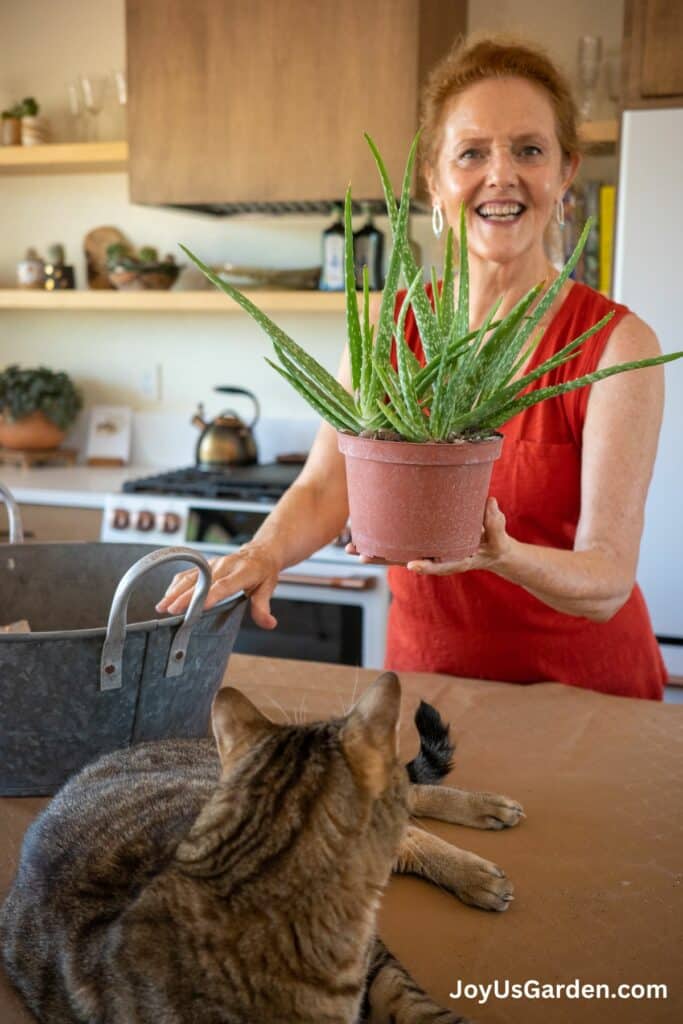
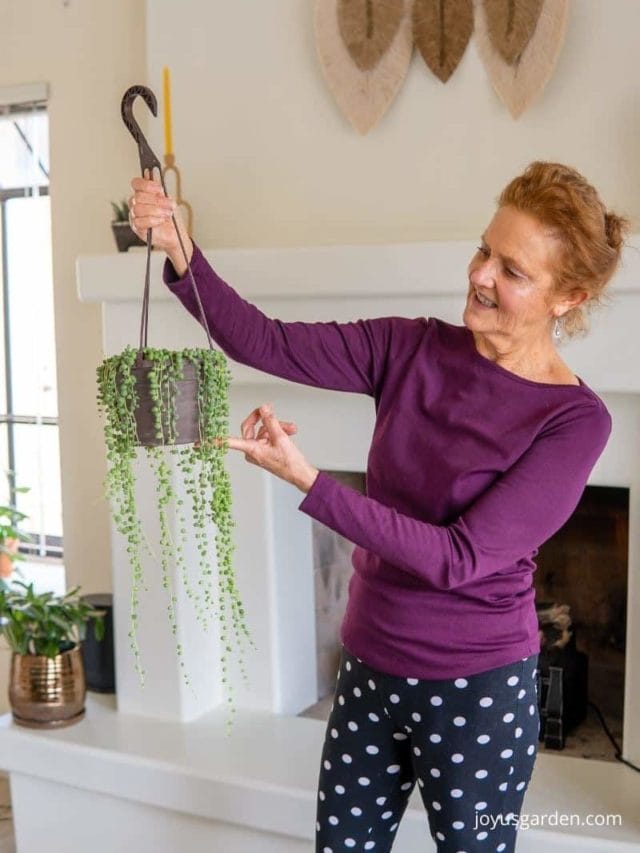
About Nell
Hi, I’m Nell, the creator of Joy Us garden. I’m a gardener, designer, blogger, YouTube creator, and author. I’ve been gardening for over 50 years and want to share what I’ve learned with you.
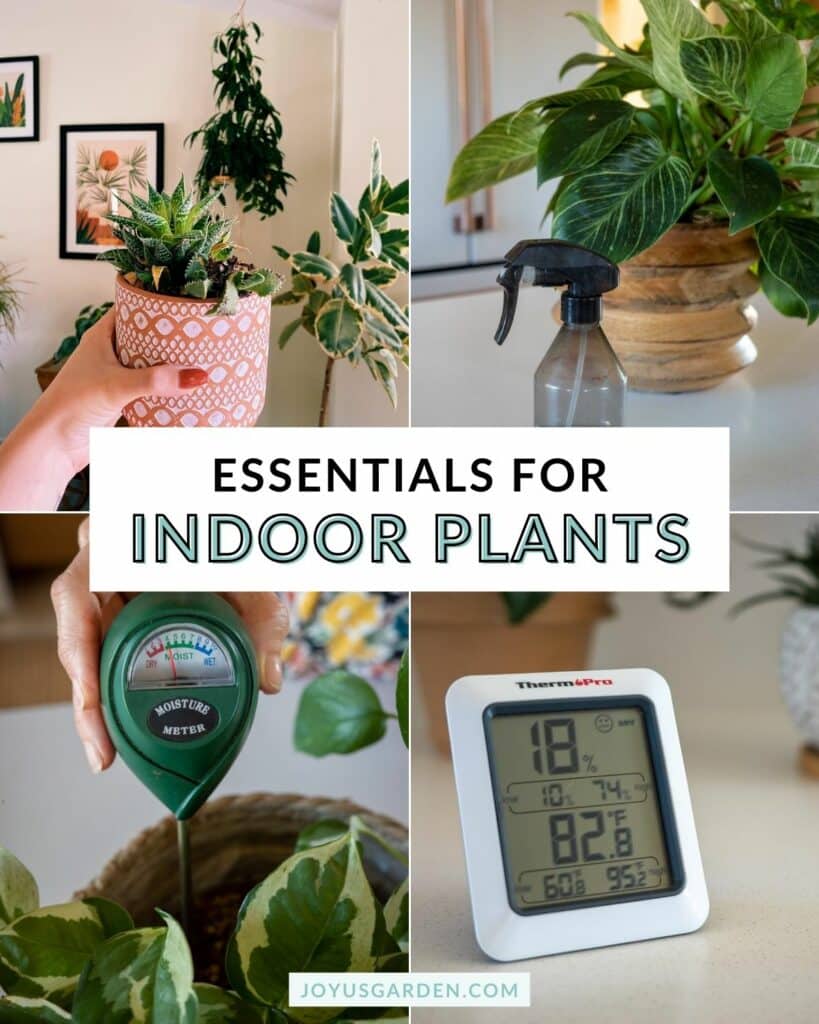
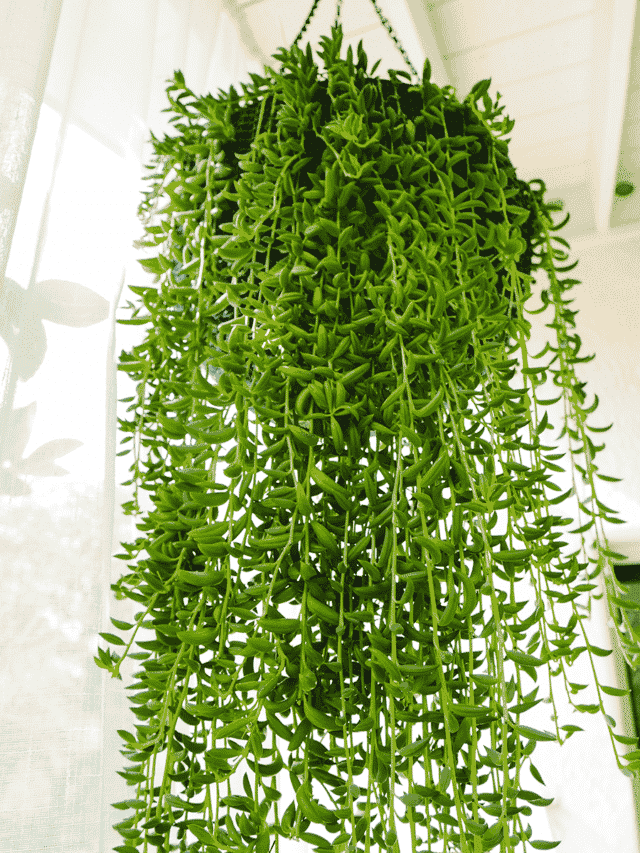
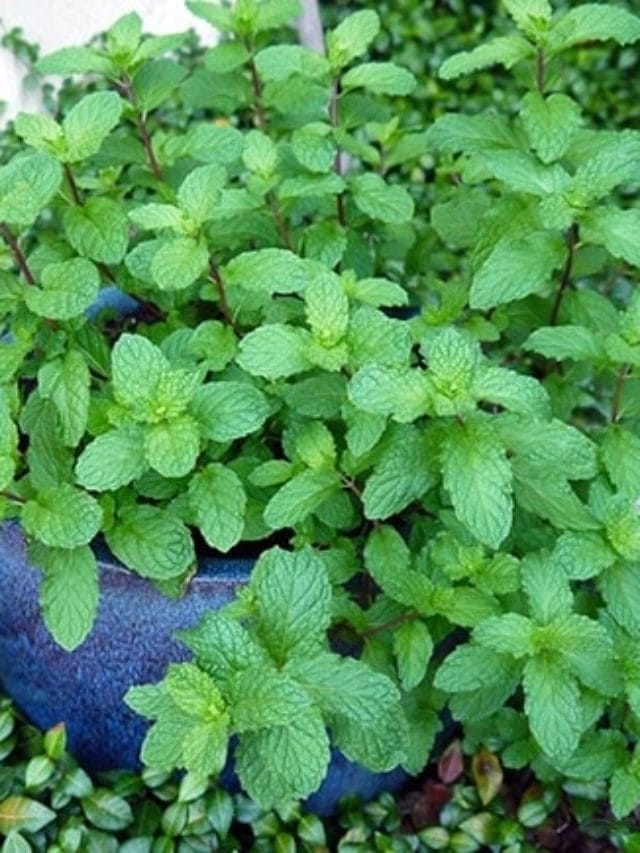
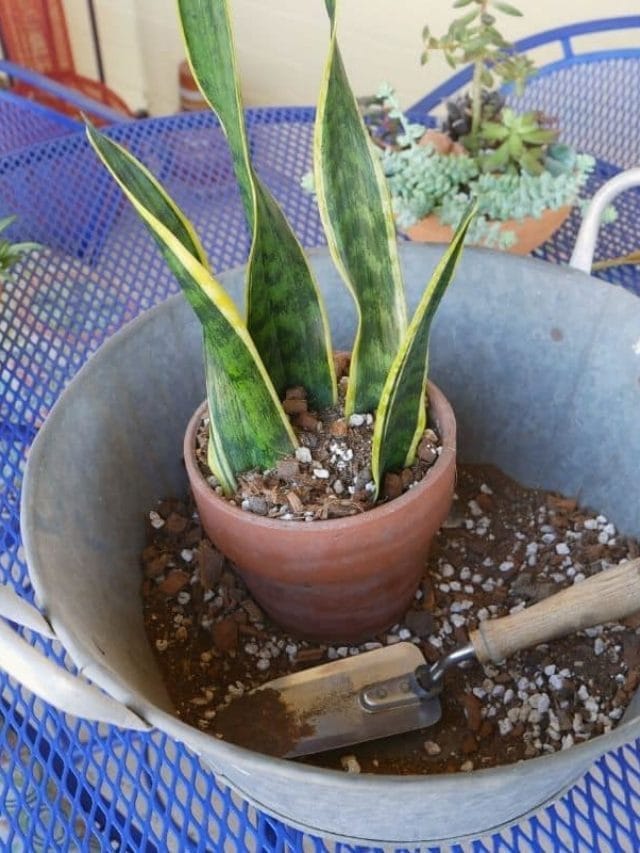
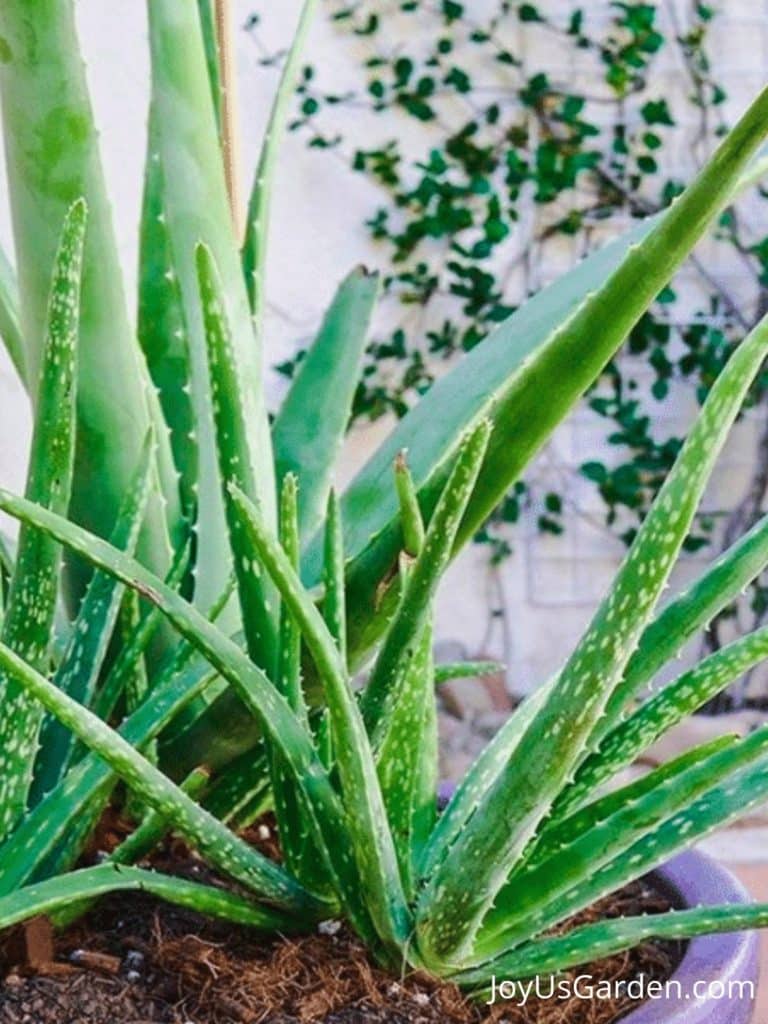
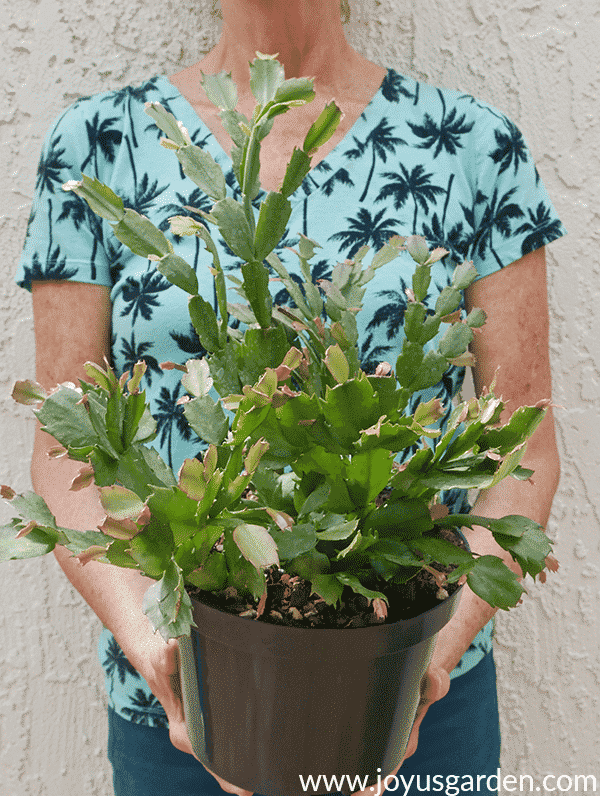
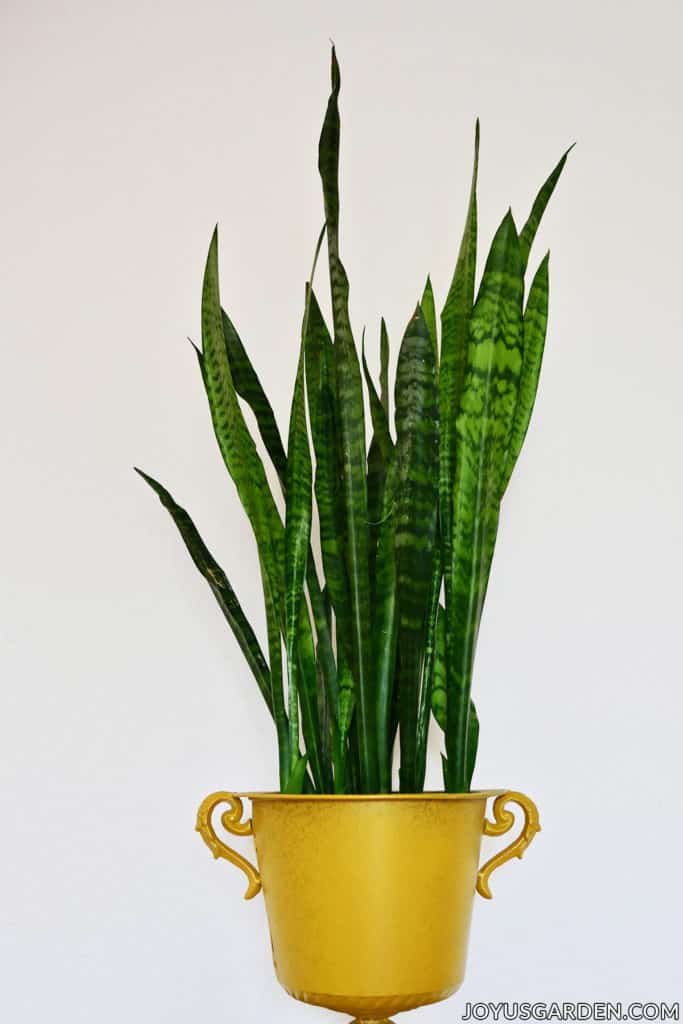
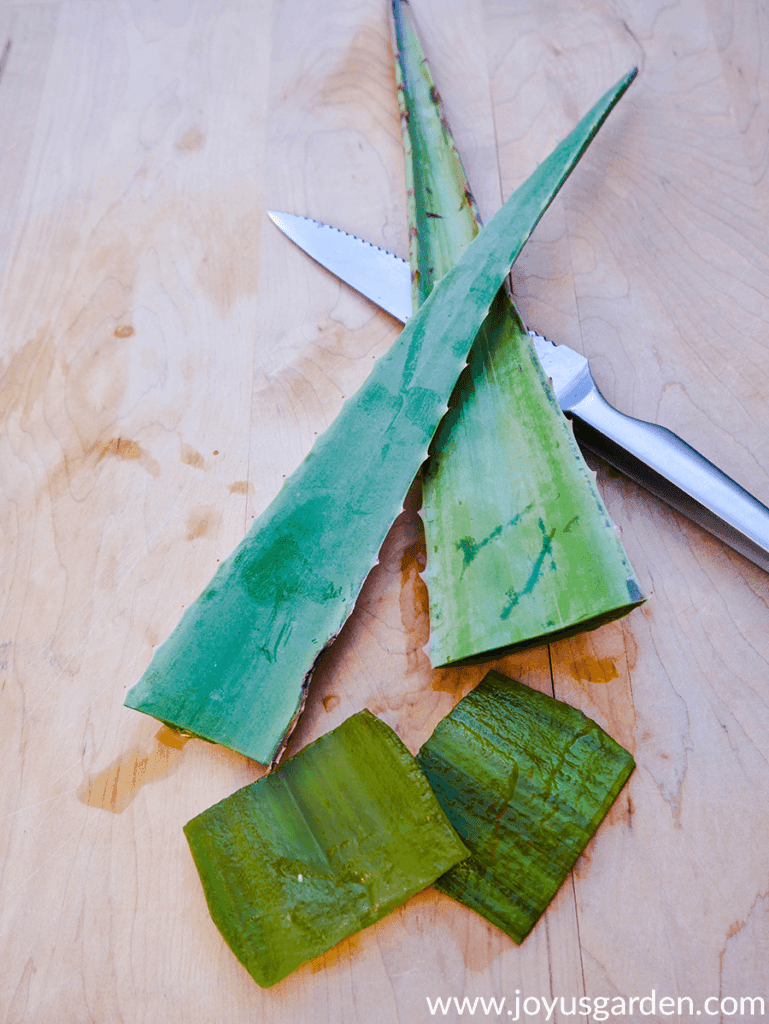
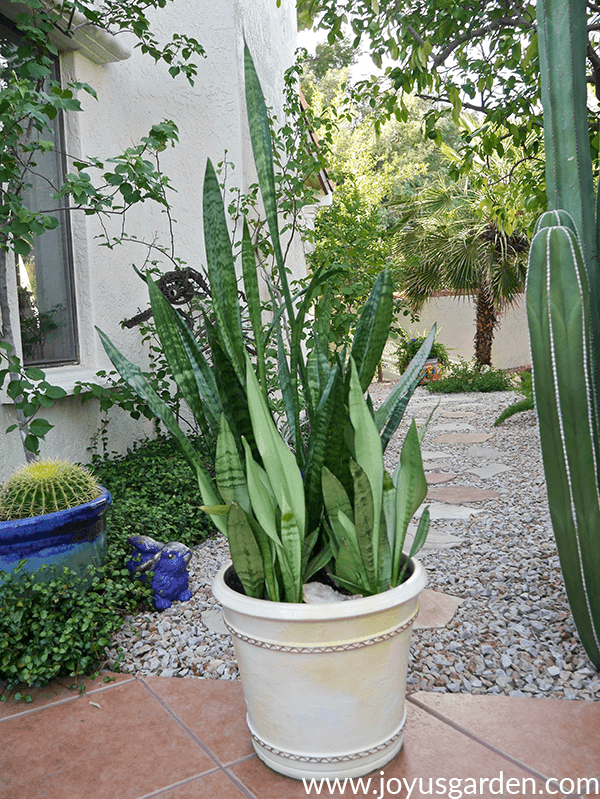
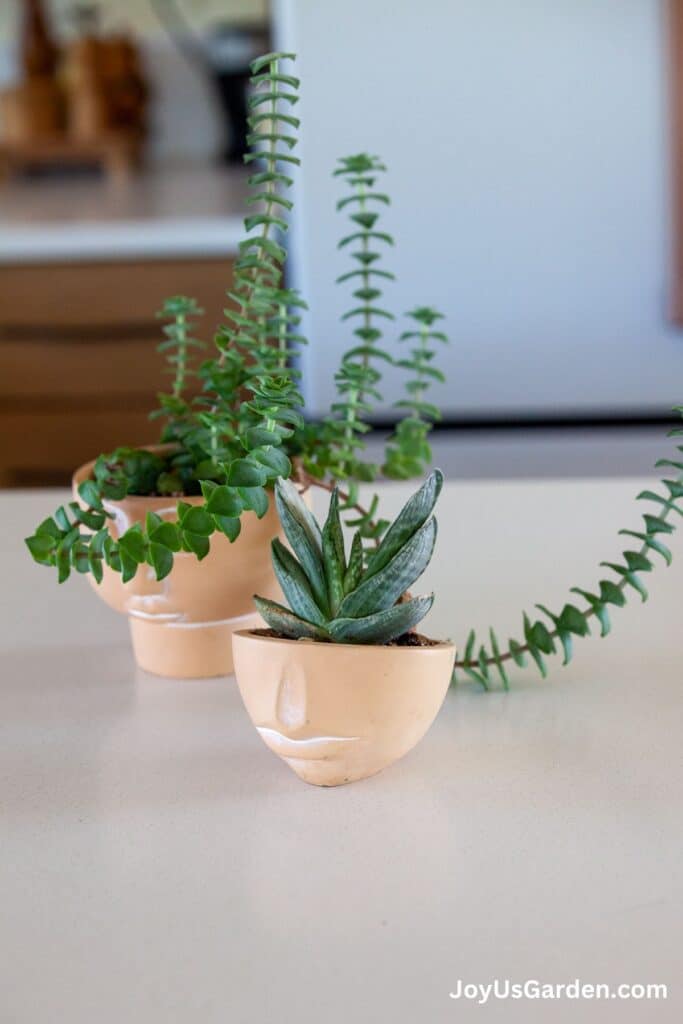
Grab our list of easy houseplants for beginners!
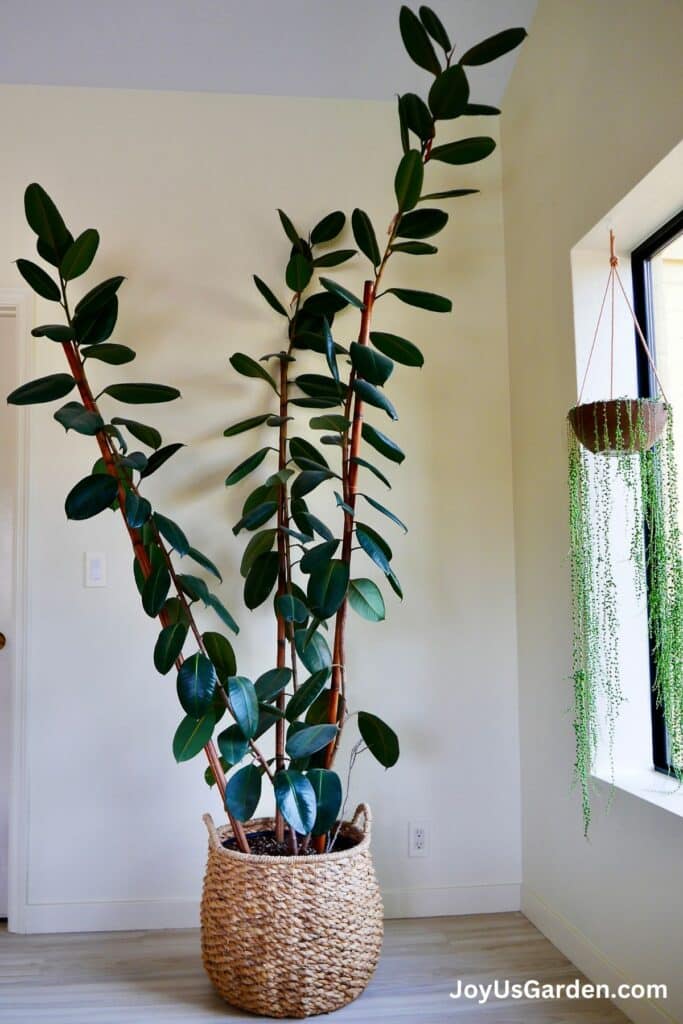
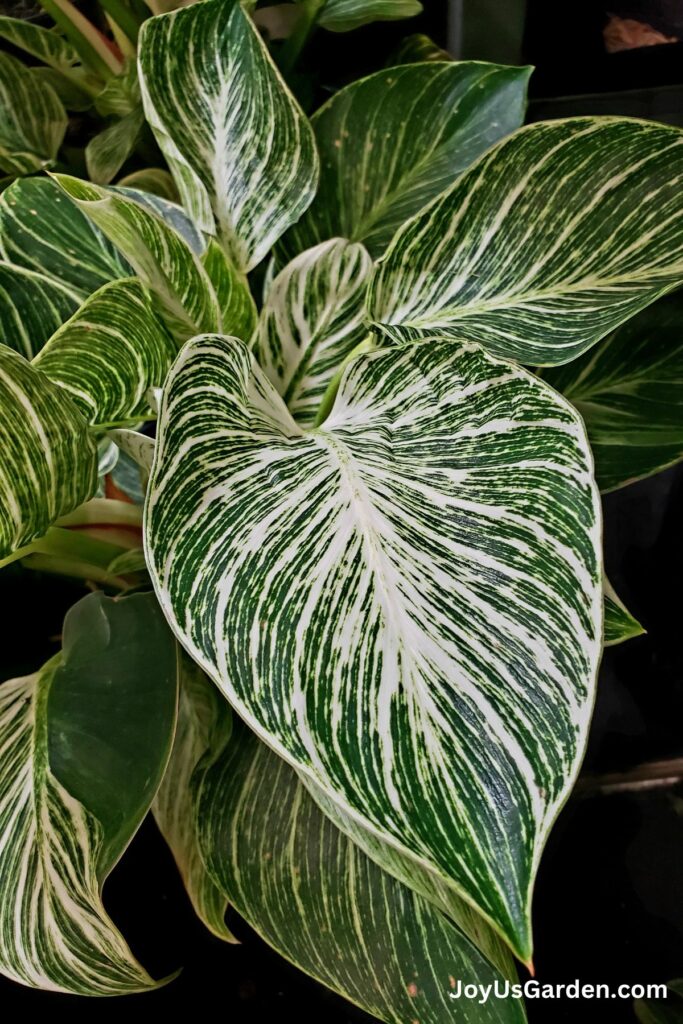
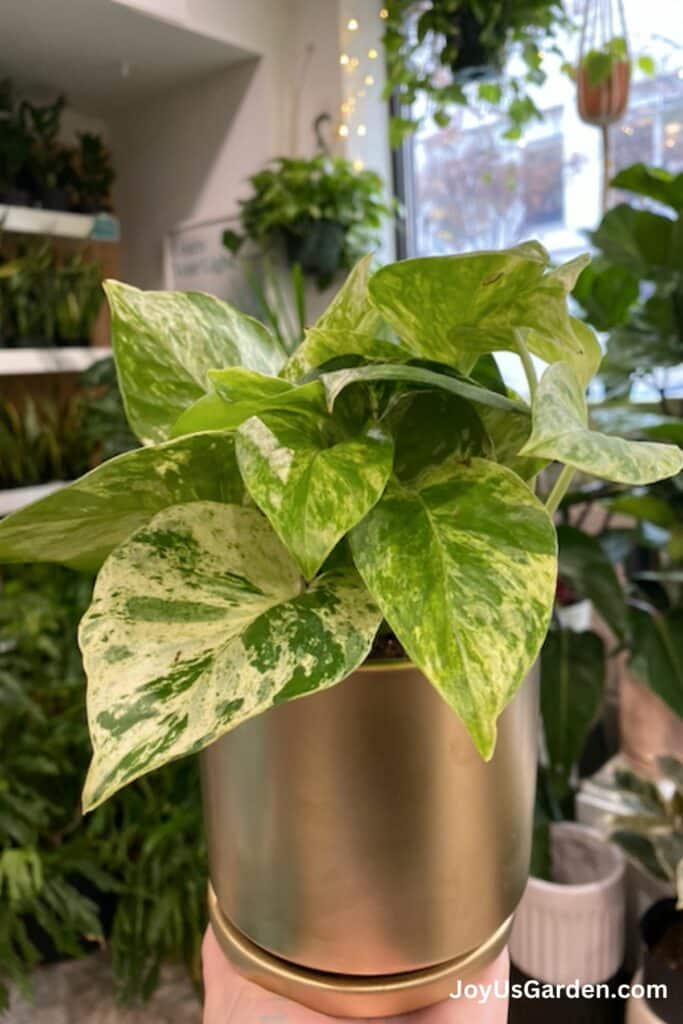
These plants are easy to care for!